
How to Fix a Leaking Pipe Under the Sink: DIY Guide
A leaking pipe under your kitchen or bathroom sink can quickly lead to water damage, mold, and wasted water if left untreated. Fortunately, many small leaks can be fixed yourself with a few basic tools.
This step-by-step guide explains how to find the source of the leak, tighten or replace common pipe connections, and know when it’s time to call a professional plumber.
Difficulty:
Moderate
Time:
20–60 min
Cost:
$0–$50
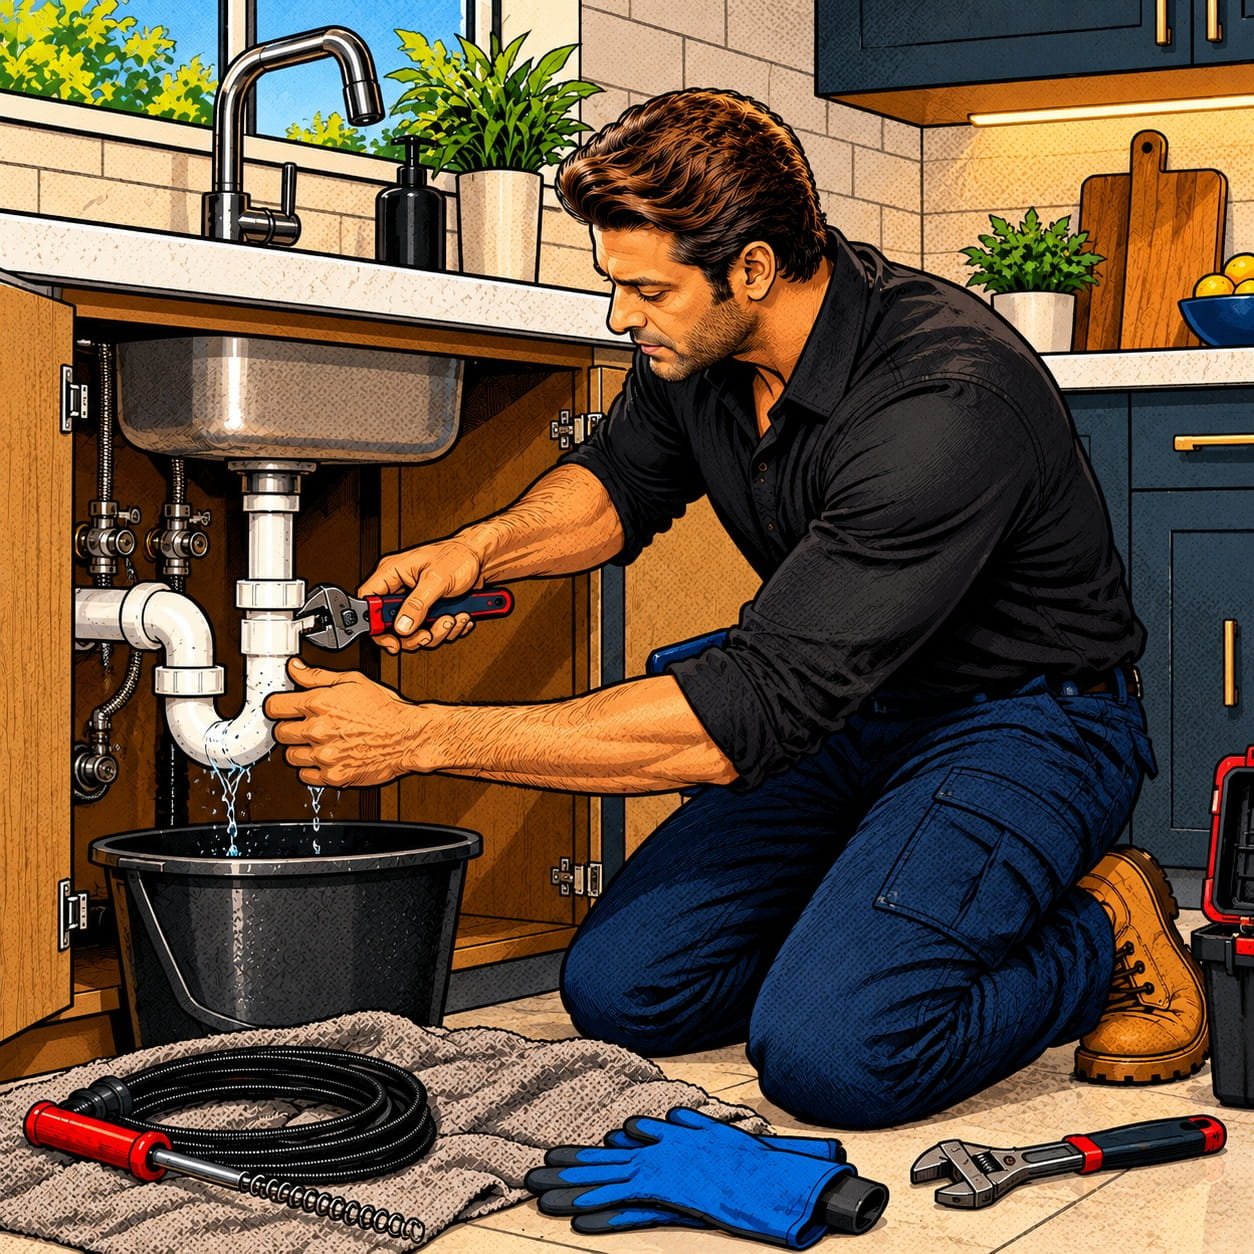
Start Here: Find where the leak is coming from
Before taking anything apart, empty the cabinet underneath the sink and dry the pipes completely with a towel.
Turn the faucet on and watch the plumbing underneath the sink carefully. Look for water coming from:
- The drain connection
- P-trap or U-bend
- Slip-joint connections
- Supply lines
- Faucet connections
- Cracked or damaged pipes
- The connection between the sink drain and drainpipe
A small leak around a threaded connection may only require tightening or replacing a washer. Water coming from a crack in the pipe may require replacement of the damaged section.

Tools and supplies
- Adjustable wrench
- Slip-joint pliers
- Bucket or large bowl
- Old towels or rags
- Replacement rubber washers
- Plumber’s tape/PTFE tape
- Replacement P-trap or pipe section, if damaged
- Screwdriver
- Flashlight
- Gloves
Always choose replacement plumbing parts that match the size and type of the existing pipe.
1. Turn off the water supply
If the leak is coming from a water supply line or faucet connection, turn off the shut-off valves underneath the sink.
Turn the valve clockwise until it stops. Then open the faucet briefly to release pressure from the line.
If you cannot stop the leak using the local shut-off valve, turn off the home’s main water supply.
Tip: Know where your main water shut-off valve is before you have a plumbing emergency. Its location varies by home and region.

2. Place a bucket underneath the leak
Put a bucket, bowl, or large container underneath the leaking pipe.
Even after the water supply is turned off, water can remain inside the trap and drainpipe. The container will catch this water when you loosen the connections.
Place an old towel around the work area to protect the cabinet from additional moisture.

3. Tighten the leaking connection
If water is coming from a threaded or slip-joint connection, first try tightening it gently.
Use one wrench or pair of pliers to hold the pipe steady while tightening the connection with the other hand.
Do not overtighten the fitting. Excessive force can damage plastic plumbing components or strip the threads.
After tightening, turn the water back on and check the connection.
If the leak has stopped, dry the area and check again after several minutes.

4. Replace the washer or gasket
If tightening doesn’t stop the leak, the rubber washer or gasket inside the connection may be worn, damaged, or incorrectly positioned.
Turn off the water again and place a bucket underneath the connection.
Carefully loosen the fitting and remove the old washer.
Take the old washer to a hardware or plumbing supply store to help find a matching replacement.
Install the new washer in the same position, reconnect the pipe, and tighten the fitting by hand before giving it a small additional turn with pliers or a wrench.
Avoid crushing the washer by overtightening it.

5. Check the P-trap for leaks
The P-trap is the curved section of pipe underneath the sink. It holds a small amount of water and helps prevent sewer gases from entering the home. Leaks commonly occur around the P-trap connections. Place a bucket underneath it and inspect both ends of the trap.
If a connection is loose, tighten the slip nut carefully. If the P-trap is cracked, badly corroded, or damaged, replacing it may be more reliable than attempting to repair it.
How to replace a P-trap
- Loosen the slip nuts on both ends.
- Carefully remove the old trap.
- Empty the trapped water into the bucket.
- Clean the pipe connections.
- Position the new P-trap.
- Install the washers correctly.
- Tighten the connections by hand.
- Give them a small additional turn if necessary.
- Run water through the sink and check for leaks.

6. Inspect the flexible supply lines
If the leak is near the faucet rather than the drainpipe, inspect the flexible water supply lines.
Look for:
- Cracks
- Bulges
- Rust or corrosion around fittings
- Moisture around the connections
- Damaged braided covering
- Water spraying or dripping from the line
A damaged supply line should generally be replaced rather than patched.
Before replacing one, shut off the water supply and make sure the replacement hose has the correct fittings and length.

7. Check the sink drain connection
Water may also be leaking from the point where the sink drain connects to the drainpipe.
Run a small amount of water into the sink while watching the connection underneath.
If water appears around the drain flange or drain connection, the seal may need to be replaced or resealed.
This repair can require removing the drain assembly, so don’t force the components if they are stuck or heavily corroded.

8. Test the repair
Once you’ve repaired the suspected leak, slowly turn the water supply back on.
Run the faucet for a few minutes and watch every connection underneath the sink.
Then fill the sink partially and release the water.
Check the P-trap, drain connections, supply lines, and surrounding cabinet for moisture.
Dry everything completely and inspect the area again after 10–15 minutes.
If there is no new moisture, the repair is likely holding.
Safety warning: Never work on plumbing near electrical wiring or electrical outlets if the area is wet. If water has reached electrical components, stop and have the situation assessed by a qualified professional.

Common mistakes to avoid
-
Don’t overtighten plastic fittings
Plastic plumbing components can crack when excessive force is used.
-
Don’t use plumber’s tape everywhere
PTFE/plumber’s tape is designed for suitable threaded connections. It is not a substitute for a rubber washer or gasket where the fitting is designed to seal with a washer.
-
Don’t ignore a small leak
A slow drip can eventually damage the cabinet, flooring, drywall, or surrounding materials.
-
Don’t patch a badly damaged pipe
If the pipe is cracked, badly corroded, or repeatedly leaking, replacing the damaged component is usually a better approach than applying a temporary patch.
Keep your sink plumbing leak-free: Prevention tips
- Check under sinks every few weeks for moisture.
- Avoid storing items where they can knock or strain plumbing connections.
- Don’t hang heavy objects from supply lines.
- Clean the P-trap when necessary.
- Avoid pouring grease and cooking oil down the kitchen drain.
- Don’t use excessive force when tightening plumbing fittings.
- Replace visibly damaged or corroded supply hoses.
- Keep the cabinet underneath the sink dry and well ventilated.
- Check plumbing after installing a new faucet or garbage disposal.
Frequently asked questions
Can I fix a leaking pipe under the sink myself?
Many minor leaks caused by loose connections or worn washers can be repaired as a DIY project. However, cracked pipes, concealed leaks, extensive corrosion, or problems involving the home’s main plumbing may require a professional.
Why is my P-trap leaking?
A P-trap can leak because of a loose connection, damaged washer, cracked pipe, corrosion, or incorrect installation. Inspect the connections first before replacing the entire trap.
Should I use plumber's tape on a leaking pipe?
It depends on the type of connection. PTFE tape can be appropriate for certain threaded connections, but it should not be used as a replacement for a washer or gasket designed to create the seal.
How much does it cost to fix a leaking pipe under a sink?
A minor DIY repair may cost only a few dollars if you need a washer or seal. Replacing a P-trap or supply line may cost more. Professional plumbing repairs can vary significantly depending on the location and severity of the leak.
Is a leaking pipe under the sink an emergency?
A small drip from a drain connection usually isn’t an emergency if you can safely contain it. However, a pressurized supply-line leak, rapidly increasing leak, or leak that cannot be stopped should be addressed immediately to reduce the risk of water damage.
Related Posts

6 Comments