How to Fix a Leaking Faucet and Stop Water Waste
A dripping faucet might seem like a small problem until you hear it all night or notice water collecting around the sink. Left unresolved, it wastes water and can damage the cabinet beneath it.
Many faucet leaks come from a worn washer, cartridge, or rubber seal. The right repair depends on where the water appears and which mechanism your faucet uses.
This guide explains how to find the source, repair common kitchen and bathroom faucet leaks, and test your work before putting everything away.
Difficulty:
Moderate
Time:
30–60 min
Cost:
$5–$30
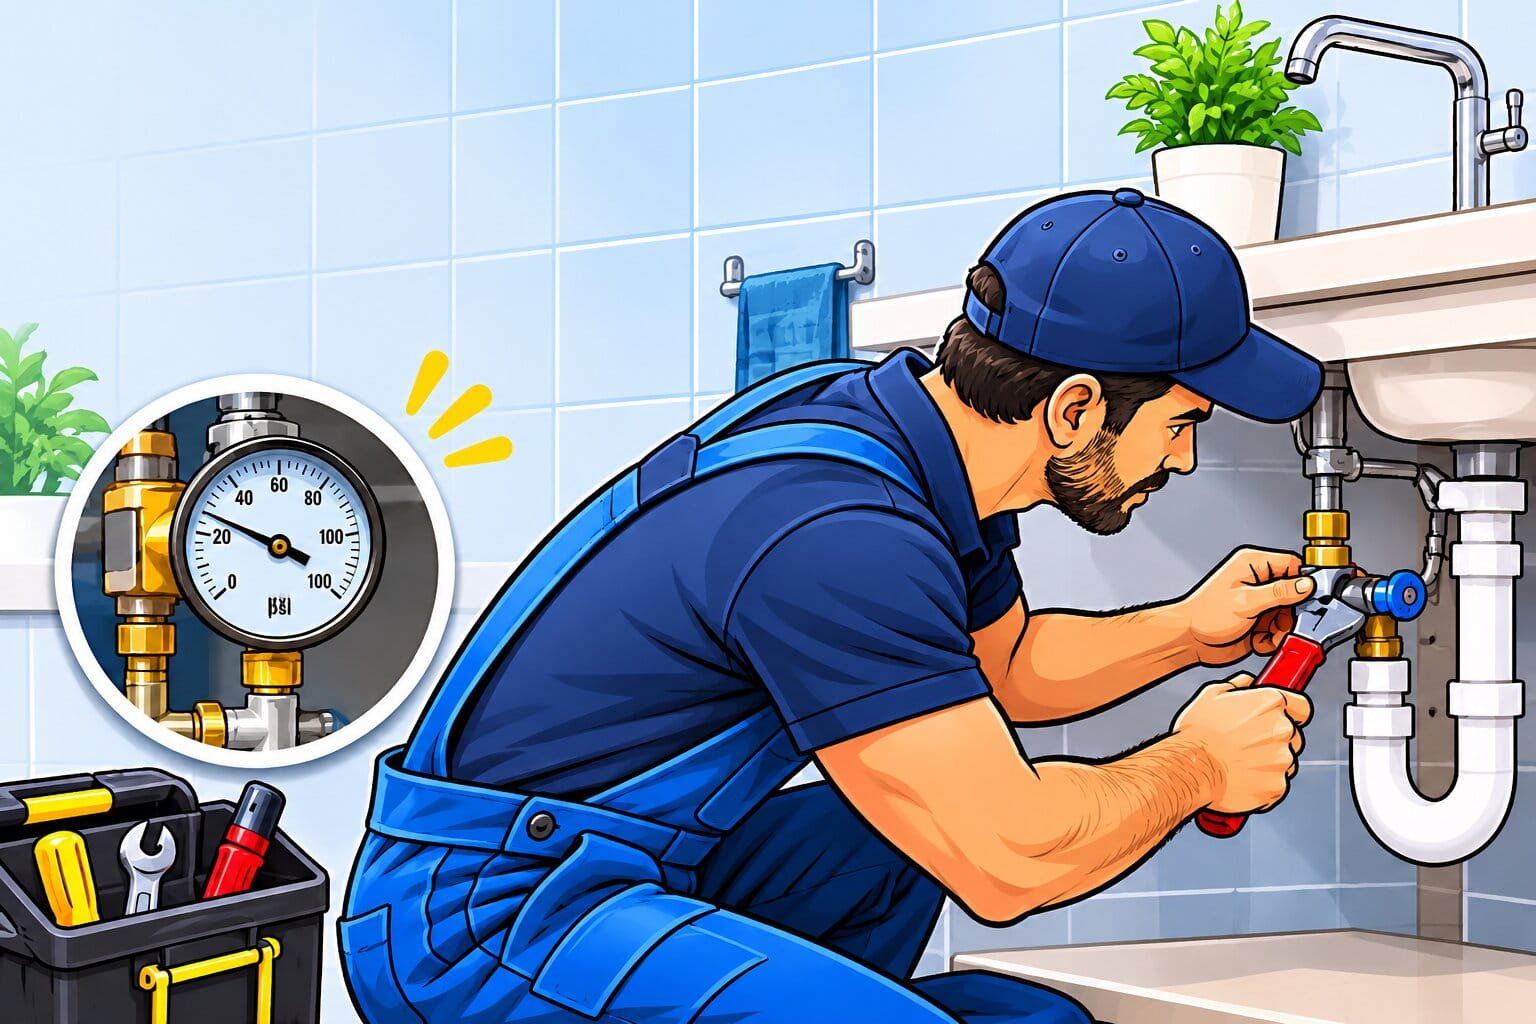
Start Here: Find Where the Faucet Is Leaking
Dry the faucet, sink surface, and accessible plumbing underneath with a towel.
With the faucet turned off, watch the spout for continued dripping. Then run the water briefly and check the handle, spout base, and connections below the sink.
- Spout keeps dripping when off: Check washer, cartridge, or valve seats and springs.
- Around the handle: Check cartridge seals, stem packing, or another handle seal.
- Around the swivel spout while running: Check spout O-rings or model-specific seals.
- Underneath the sink: Check supply hose, connection, faucet body, or water tracking down from above.
- Around a pull-out spray head or hose: Check spray-head connection, hose, or connector seal.
Water can travel along a surface before it drips. A puddle around the faucet base may actually begin at the handle, so check above the wet area before choosing a repair. Moen specifically identifies this as a possible source of apparent base leaks.
For Australian readers: A faucet is commonly called a tap. Traditional washer taps and modern mixer taps use different mechanisms, so identify yours before buying parts.

Tools and supplies
- Phillips or flat-head screwdriver
- Hex key or Allen key
- Adjustable wrench
- Soft cloth to protect the finish
- Small bucket and towels
- Flashlight
- Small tray for screws and clips
- Soft brush
- Compatible replacement washer, cartridge, O-rings, or repair kit
- Manufacturer-approved lubricant, if specified
Find the brand and model number, then look up the parts diagram. Keep a photo of the faucet and its internal components to help identify replacements.
Similar-looking cartridges and seals are not necessarily interchangeable.
Check local requirements before starting. Permitted homeowner plumbing work varies. Queensland allows certain minor tasks, including replacing a tap washer or jumper valve, but that permission does not cover every faucet repair or replacement.
1. Turn Off the Water Supply
Locate the hot and cold shut-off valves beneath the sink and close both before dismantling a mixer faucet.
For a multi-turn valve, turn clockwise until it closes gently. For a quarter-turn valve, move it through its normal closing movement.
Open the faucet to release remaining pressure and confirm that the water stops.
If water continues flowing, the shut-off valve may not be isolating the supply properly. Do not remove the faucet’s internal parts until you have a reliable shut-off.
If necessary, isolate the home’s main supply using a valve intended for homeowner operation.
Do not force a seized valve. A valve that will not close or starts leaking needs attention before you continue.

2. Protect the Sink and Identify the Mechanism
Close or cover the drain so screws and small seals cannot disappear into it. Place a towel in the sink to protect the surface.
Before removing the handle, check which mechanism your faucet uses:
- Compression valve: A traditional design that presses a washer against a valve seat.
- Cartridge valve: A replaceable assembly that controls water flow.
- Ceramic-disc cartridge: Uses ceramic surfaces inside the cartridge to control and shut off water.
- Ball valve: Found in some older single-handle faucets, often with separate rubber seats and springs.
Handle shape alone is not enough to identify the mechanism. A two-handle faucet may use compression washers, cartridges, or ceramic valves.
Use the manufacturer’s parts diagram to choose the correct repair below. You do not need to complete every repair in this guide.
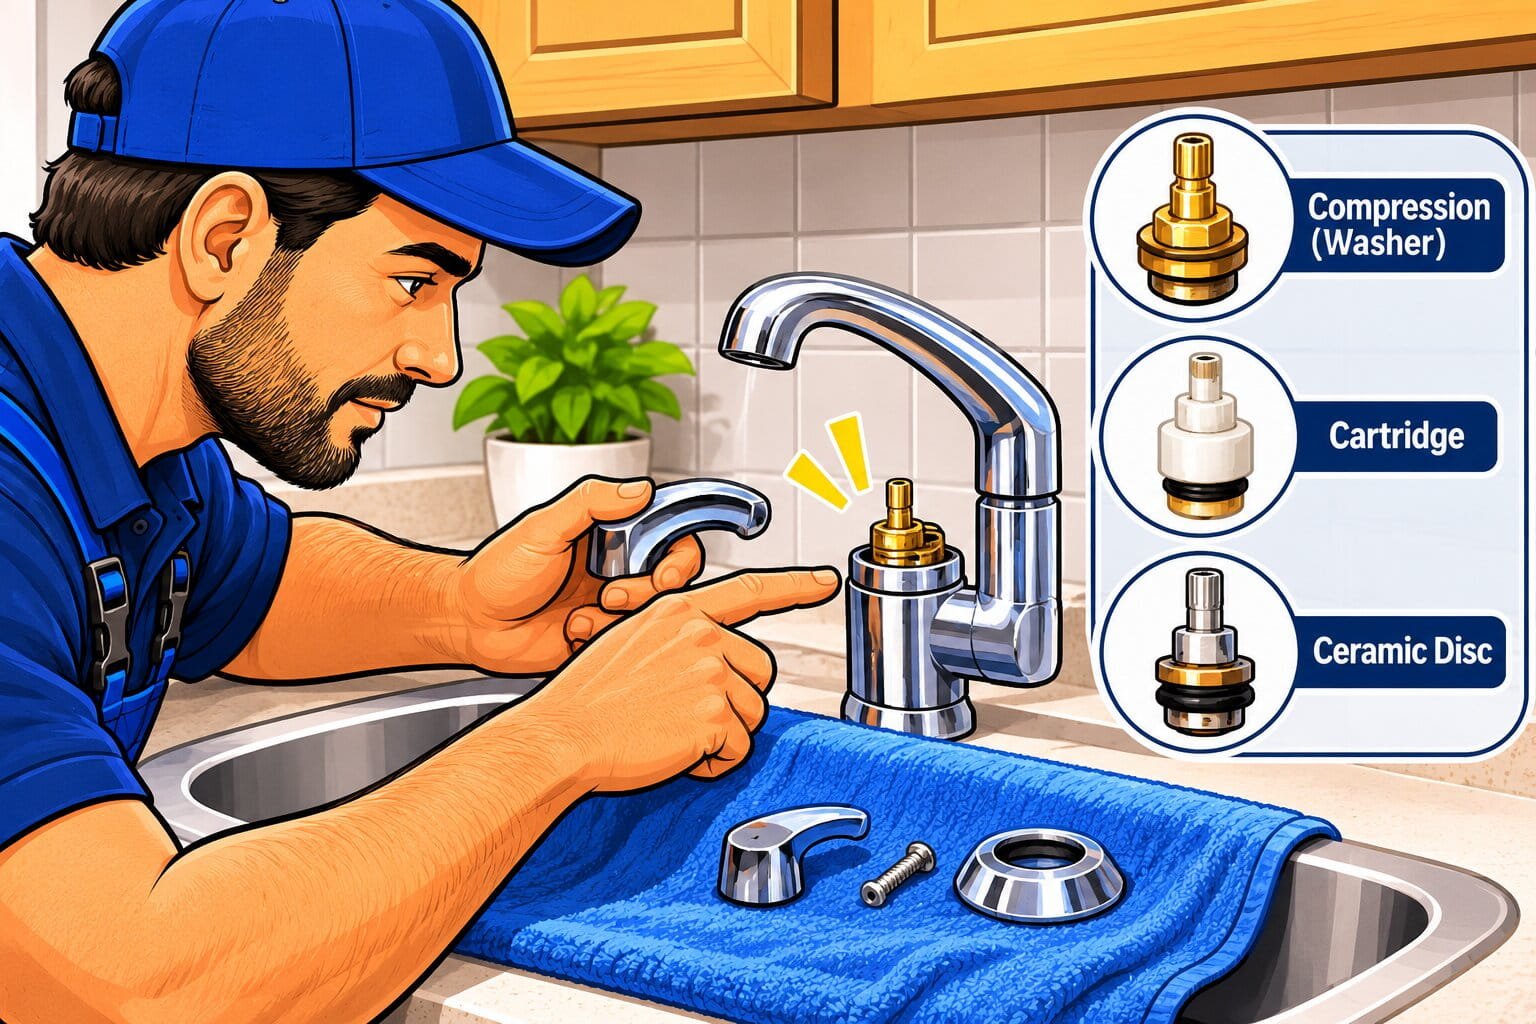
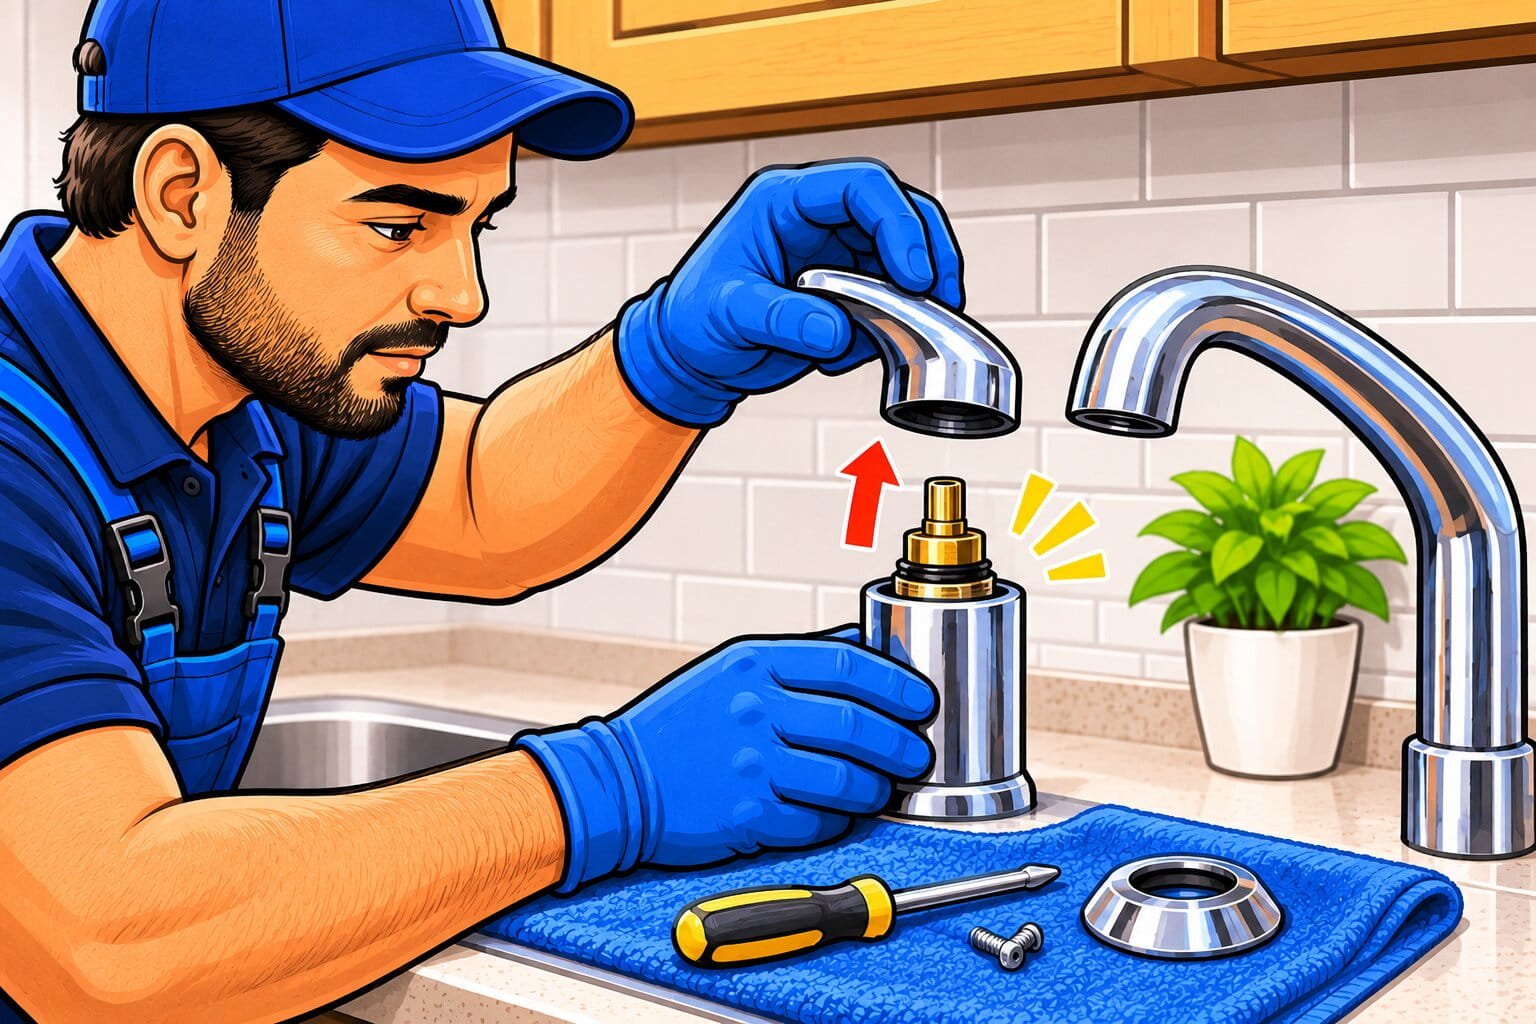
3. Remove the Faucet Handle Carefully
Handle screws may be beneath a decorative cap or hidden on the side or underside.
- Locate the retaining screw.
- Remove the cap carefully if the instructions require it.
- Loosen the screw with the correct screwdriver or hex key.
- Lift off the handle.
- Put the parts in a tray in removal order.
- Photograph any exposed clips, nuts, and seals.
Do not pry aggressively against the faucet body or sink. If the handle is stuck, check for another fastener and follow the model’s removal procedure.
Some cartridges require a dedicated puller. Using excessive force can damage the valve body.
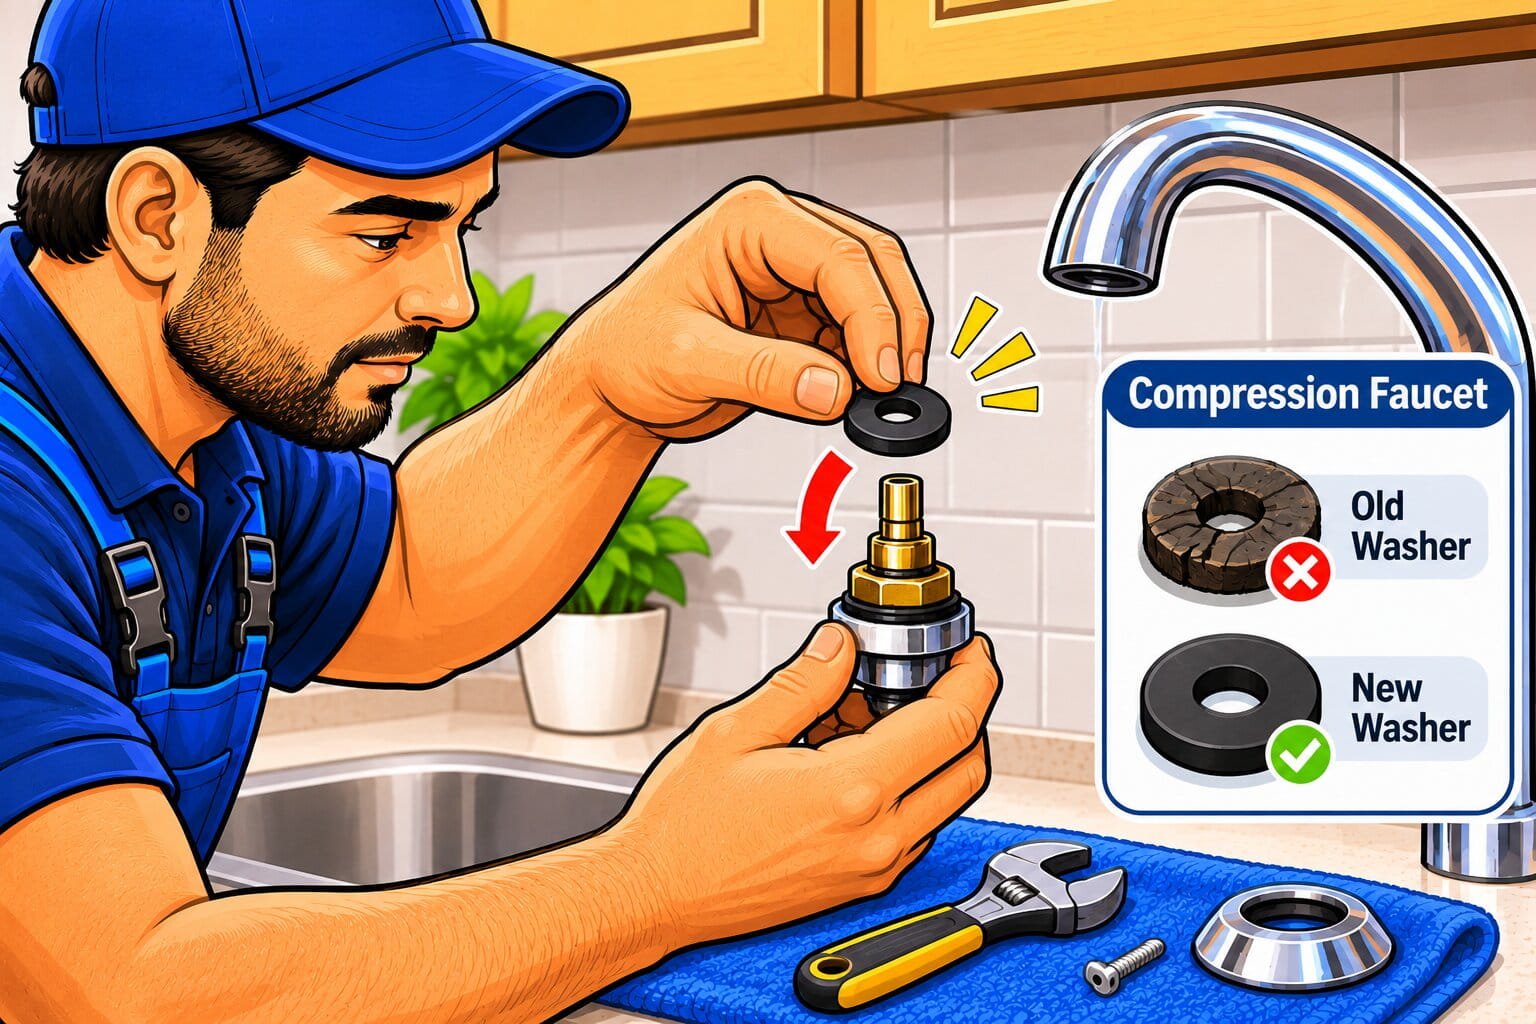
4. Replace the Washer in a Compression Faucet
For a confirmed compression faucet that drips from the spout, inspect the washer at the end of the valve stem.
With the water isolated:
- Remove the retaining or bonnet nut as instructed.
- Withdraw the stem assembly.
- Inspect the washer for cracks, hardening, distortion, or wear.
- Remove its retaining screw, if fitted.
- Install a washer of the correct size and profile.
- Inspect the valve seat for damage.
- Reassemble according to the manufacturer’s instructions.
Some traditional Australian taps use a removable jumper valve carrying the sealing washer. Replace the specified washer or jumper assembly for that design.
Worn faucet washers and gaskets are recognized causes of leaks by the EPA’s WaterSense program.
A new washer may not solve a leak if the metal seat is badly pitted or damaged. Do not grind or reshape the seat without confirming the correct procedure; have it assessed if necessary.
Close the repaired handle gently. Turning it harder than needed can shorten the new washer’s life.
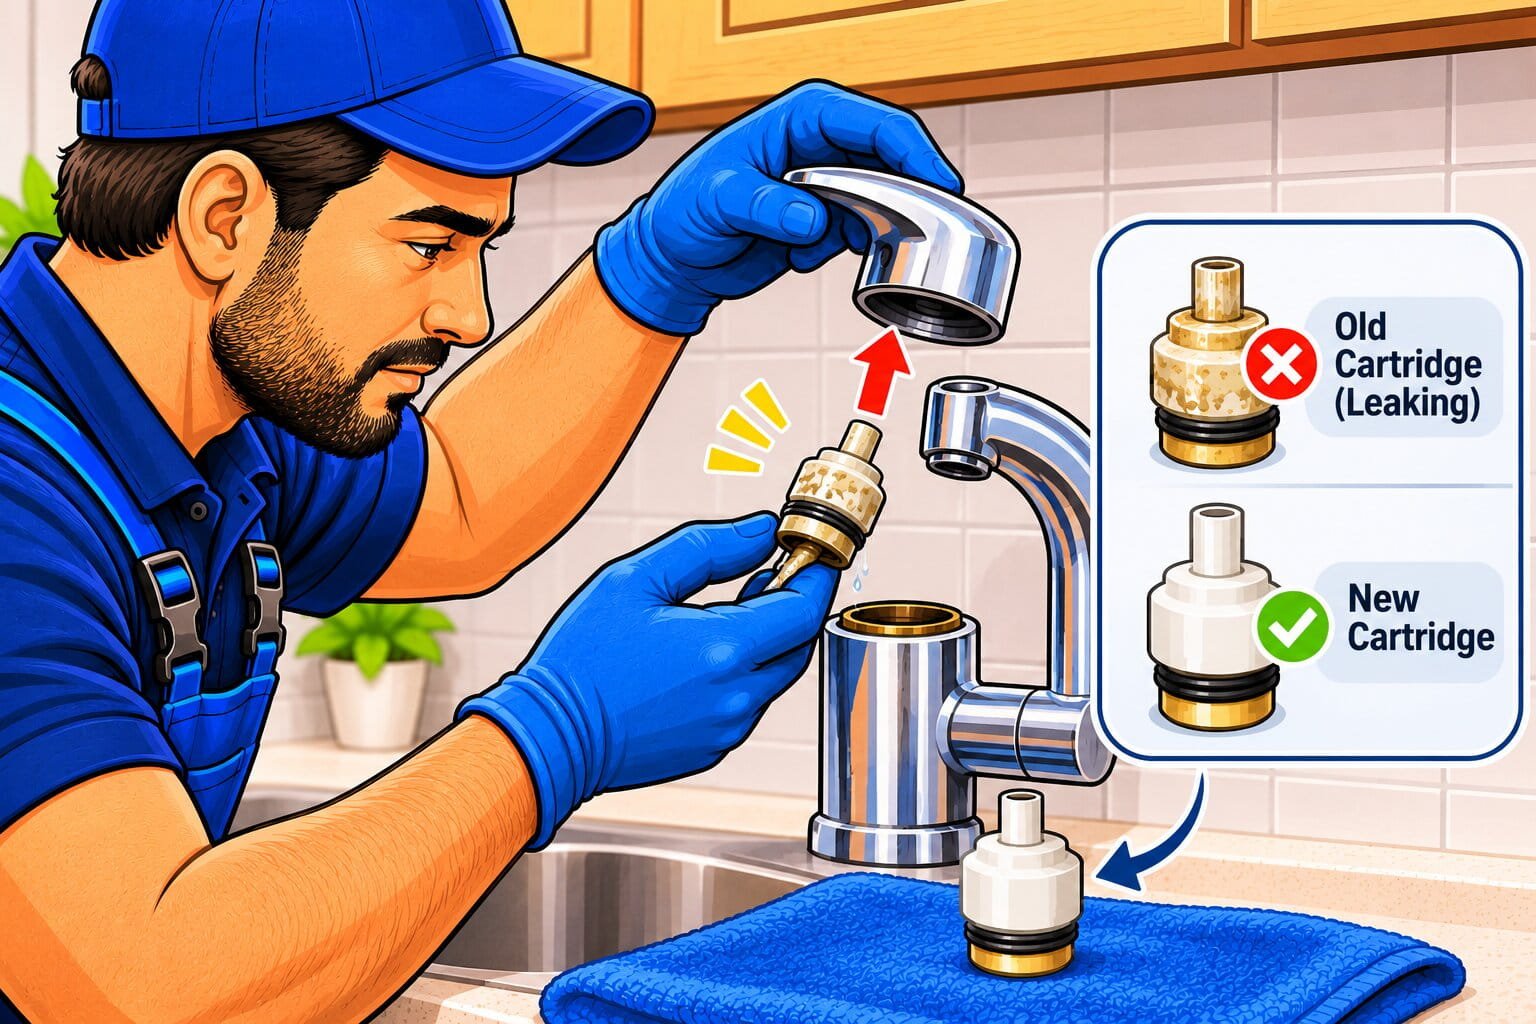
5. Replace a Leaking Cartridge
For a cartridge faucet, persistent dripping may require a compatible replacement cartridge rather than a separate washer.
Moen identifies the cartridge as the usual repair point for spout leaks in its cartridge-operated bathroom faucets.
To replace a serviceable cartridge:
- Confirm that the water is off.
- Remove the handle and trim as instructed.
- Photograph the cartridge’s orientation.
- Remove the retaining clip or nut.
- Withdraw the cartridge using the specified method.
- Gently clean accessible debris from the housing.
- Fit the correct replacement in its required orientation.
- Reinstall the retainer, trim, and handle.
Keep tools from scratching the sealing surfaces.
Do not dismantle a ceramic-disc cartridge unless the manufacturer provides a service procedure. Many are replaced as complete assemblies.
Check the faucet’s warranty before purchasing parts, since the manufacturer may provide support or replacement components.
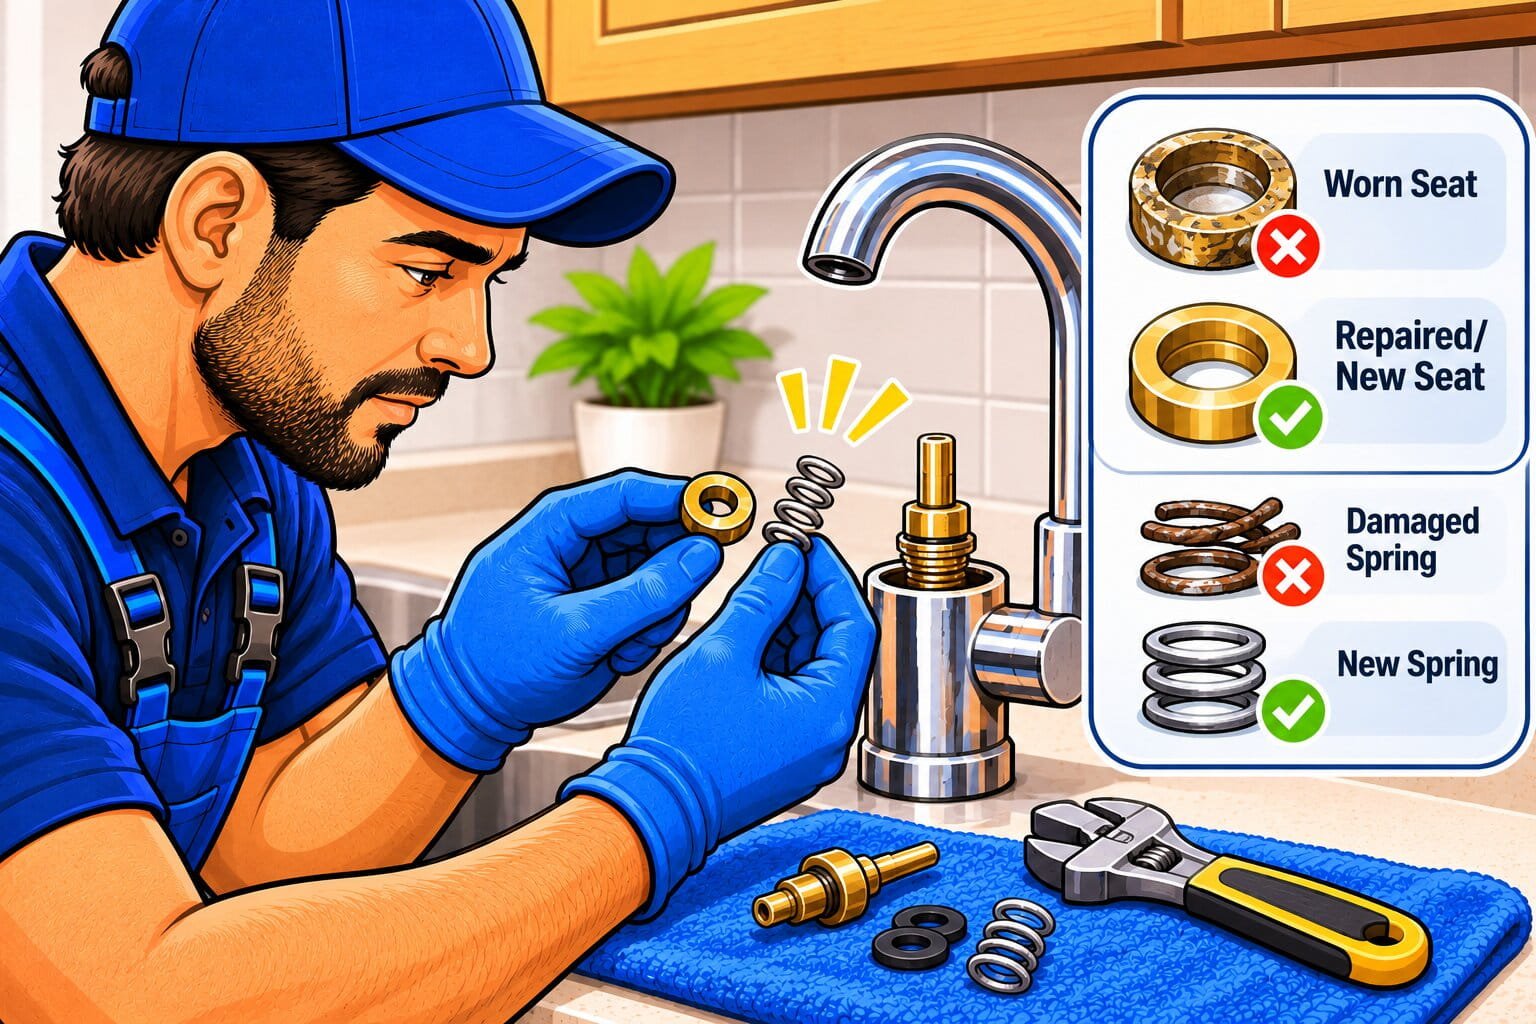
6. Repair Seats and Springs Where Fitted
Some faucets use separate rubber seats and metal springs beneath the valve assembly.
If your parts diagram shows these components, inspect and replace them using the correct repair kit.
- Remove the valve assembly as instructed.
- Note the position of each seat and spring.
- Remove the old components carefully.
- Clean loose debris from the recesses.
- Install the new parts in the specified orientation.
- Refit the valve assembly and handle.
Do not assume every faucet from the same brand uses this design. Delta’s guidance distinguishes faucets with separate seats and springs from those using a self-contained replacement cartridge.
For older ball faucets, the ball, cam, packing, seats, and springs may need different checks depending on the leak location. Follow the model-specific repair instructions rather than mixing components from different kits.
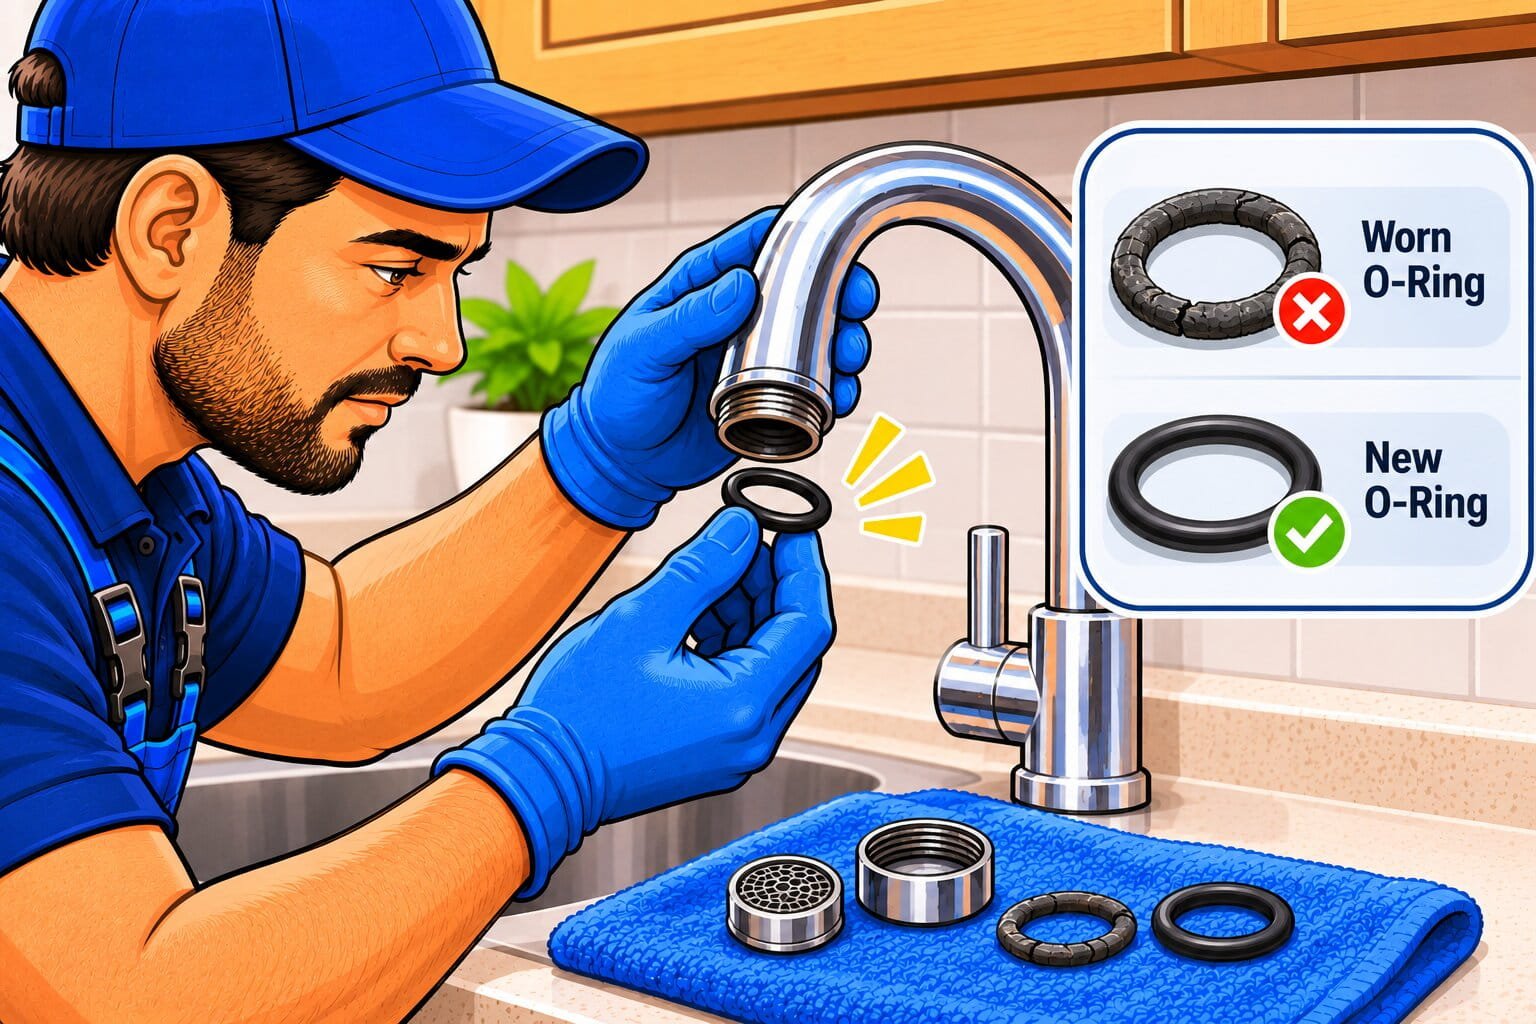
7. Replace Worn Spout O-Rings
If a swivel spout leaks around its base while water is running, inspect its seals.
On certain non-pull-out faucets, damaged spout O-rings allow water to escape around the joint. Moen notes that the correct O-ring sizes depend on the model.
For a serviceable spout:
- Shut off the water.
- Follow the instructions to release and remove the spout.
- Photograph the positions of the seals.
- Remove the old O-rings without scratching their grooves.
- Clean the grooves gently.
- Install the specified replacement seals.
- Apply only the lubricant recommended by the manufacturer.
- Reassemble and test.
Avoid petroleum-based lubricants unless the manufacturer expressly permits them. Use products suitable for the seal material and drinking-water application.
A leak around the handle may involve a different seal or cartridge repair. Replacing spout O-rings will not fix every external leak.
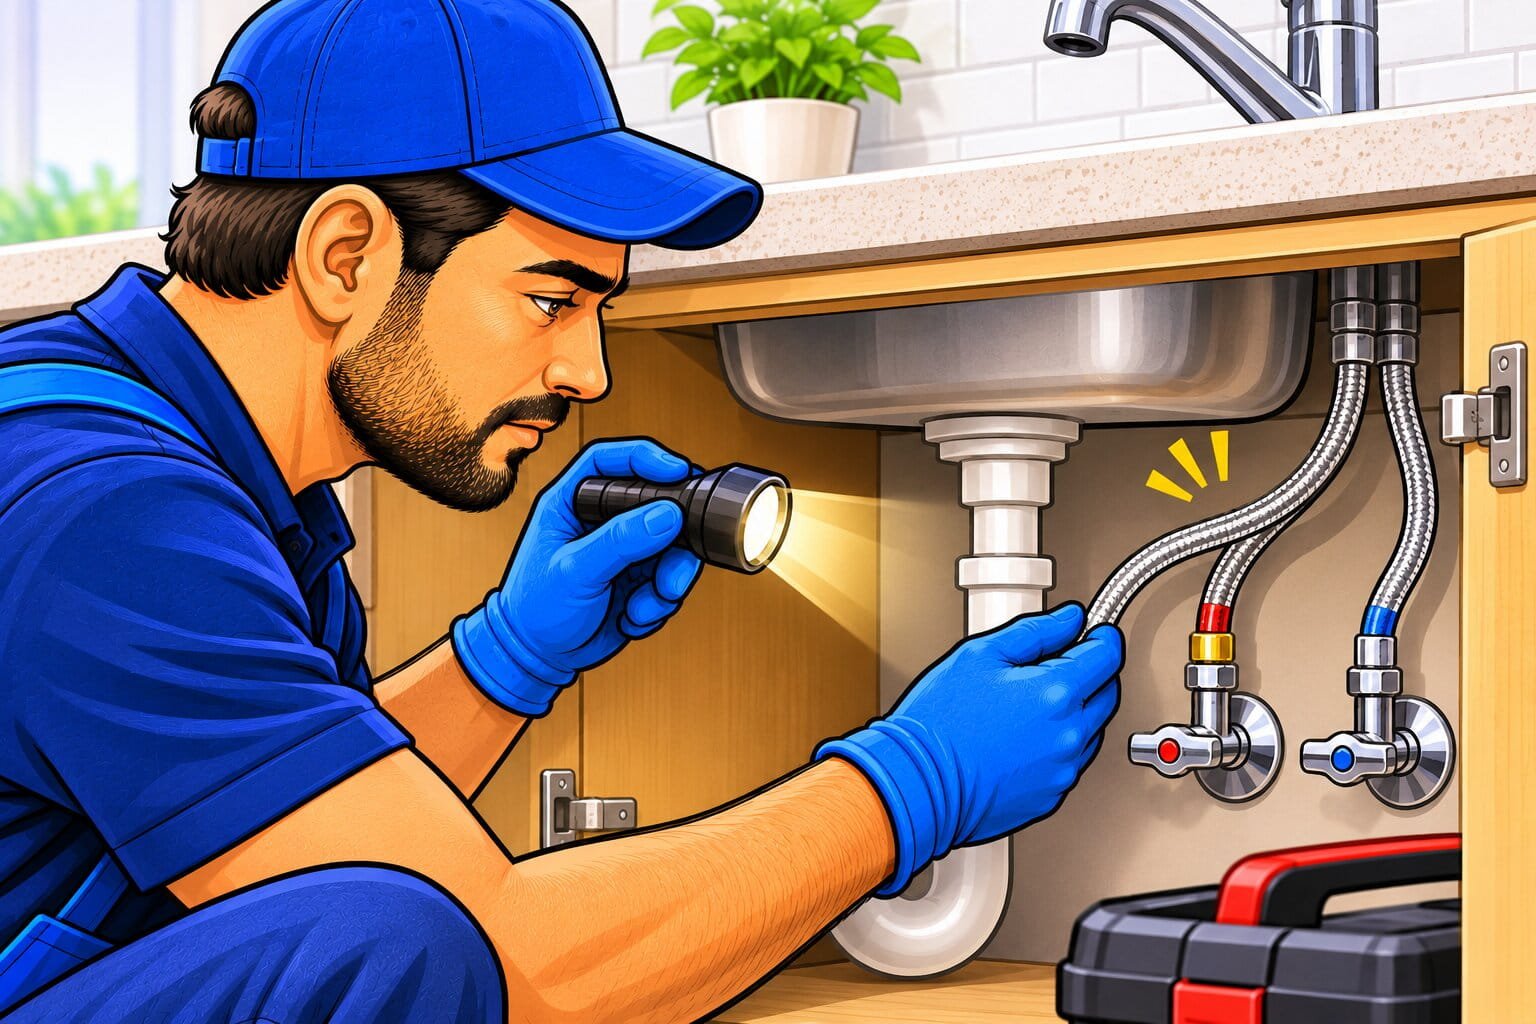
8. Check Connections and Hoses Under the Sink
If the cabinet is wet, inspect beneath the sink while someone briefly operates the faucet.
Check:
- Supply hoses and their end connections
- Shut-off valves
- Pull-out or pull-down hoses
- Spray-head connectors
- The underside of the faucet body
Dry each area before testing so new moisture is easier to locate.
A damaged hose should be replaced with a compatible part. Tightening a connection will not repair a split hose, failed seal, or cracked body.
Follow the connection’s instructions before adjusting it. Many supply connections seal with a washer or gasket, so PTFE tape is not a substitute for the required seal.
Avoid overtightening and twisting flexible hoses.
If water appears only when the sink drains, the problem may be in the drain assembly rather than the faucet. See our guide to fixing a leaking pipe under the sink.
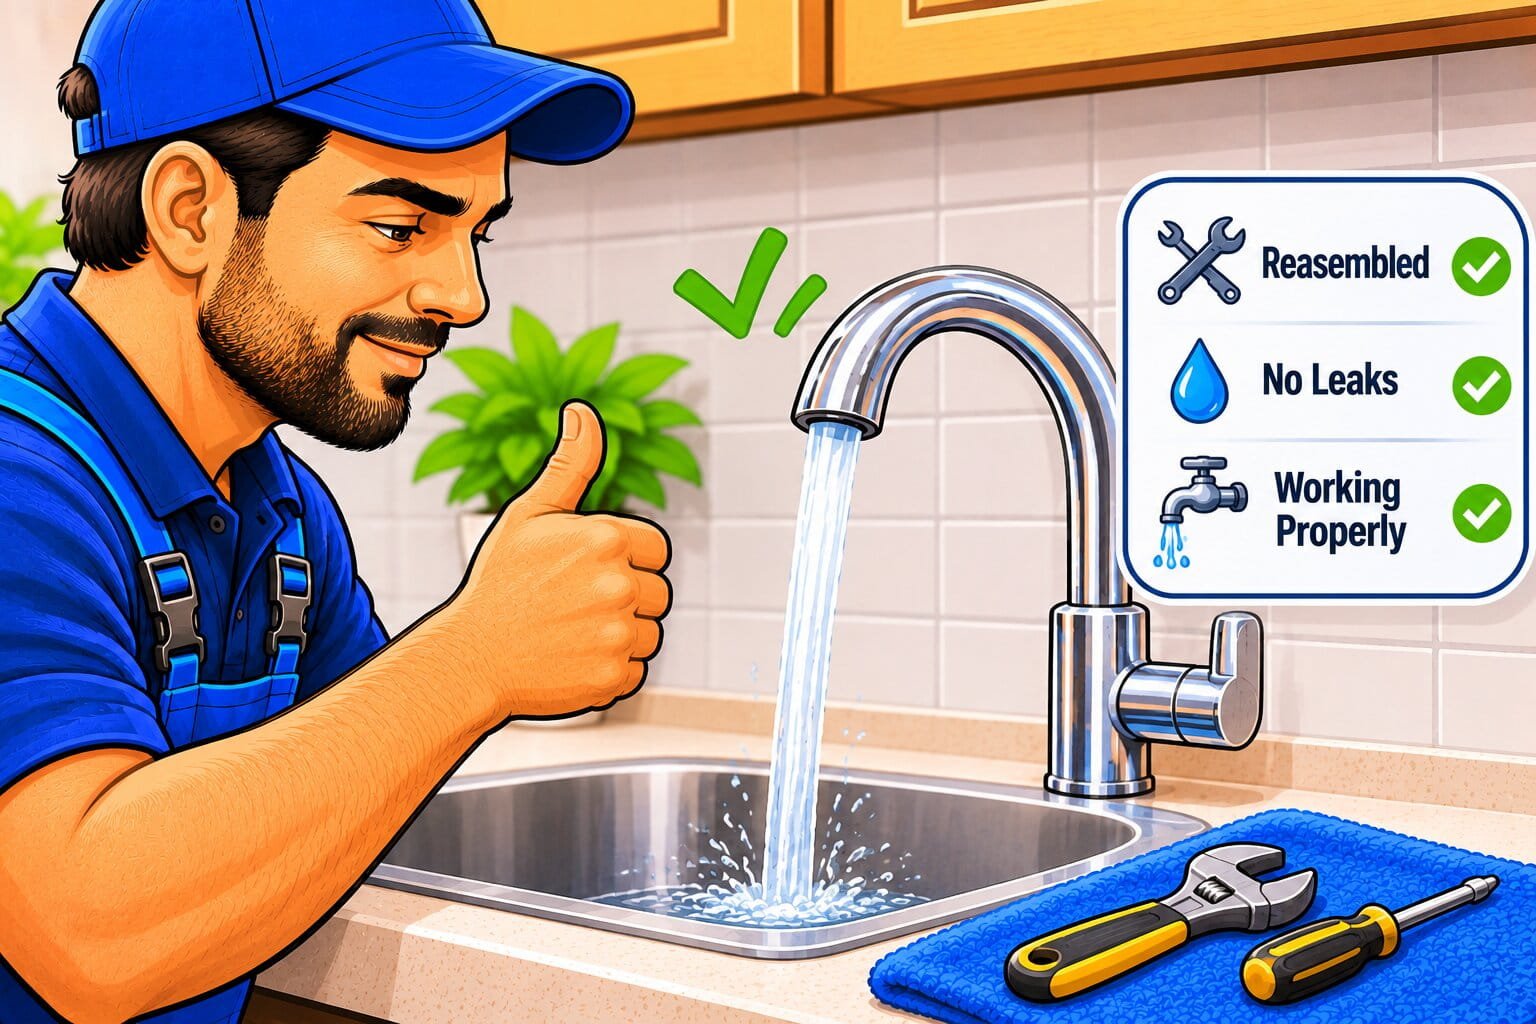
9. Reassemble and Test the Repair
Check that all retainers, clips, and nuts are installed correctly before restoring the supply.
- Return the faucet control to its off position.
- Open the supply valves slowly.
- Inspect the exposed connections.
- Run cold water, then hot water, then mixed water.
- Turn the faucet off and watch for continued dripping.
- Move a swivel spout or extend a spray hose to check those joints.
- Dry the cabinet and inspect again after several minutes.
Confirm that hot and cold operation is correct and that the handle moves normally.
Color appearing in the bowl indicates a leak. Flush afterward to clear the dye and reduce the chance of staining. This test is recommended by the US Environmental Protection Agency’s WaterSense program.
How Much Water Is the Drip Wasting?
With the faucet turned off, collect the dripping water for a known period.
For example, if it collects 100 milliliters in 10 minutes, that works out to approximately:
- 4 liters per day
- 8 US gallons per day
The calculation is:
Daily waste = collected volume × 1,440 ÷ collection time in minutes
Use consistent units throughout. This is an estimate based on the drip remaining steady, but it gives you a practical way to understand the loss.
Common Mistakes to Avoid
- Assuming every faucet needs a washer: Identify the valve mechanism first.
- Buying a similar-looking cartridge: Match the model and part number.
- Forcing a stuck handle or cartridge: Use the specified removal method.
- Overtightening the handle: Extra force can damage sealing components.
- Scratching valve seats or seal grooves: Damage can prevent a new seal from working.
- Using tape instead of a required gasket: Repair the connection’s actual sealing system.
- Skipping the cabinet inspection: A stopped spout drip does not prove every connection is dry.
Prevent Future Faucet Leaks
- Close handles gently and address stiffness before you need to force them.
- Keep an eye on the cabinet beneath the sink, especially after a repair. Avoid storing items where they can strain hoses or connectors.
- Use cleaning products suitable for the faucet’s finish. Replace deteriorated seals with compatible parts and keep a record of the model number for future maintenance.
- If several fixtures begin leaking or you notice unusual pressure changes, have the household supply assessed rather than repeatedly replacing seals.
Frequently asked questions
Can I fix a leaking faucet myself?
Many accessible washer and cartridge repairs are manageable if you can isolate the water, identify the correct parts, and follow the manufacturer’s instructions. Check local requirements before starting.
Why does my faucet drip when it is turned off?
The internal shut-off mechanism may not be sealing properly. Depending on the design, the fault could involve a washer, cartridge, seat, spring, or damaged sealing surface.
Will replacing the aerator stop a dripping faucet?
Usually not. An aerator shapes the water stream; it generally does not shut off the supply. A persistent drip with the handle off needs investigation of the valve mechanism.
Why does the faucet leak around the handle?
Possible causes include cartridge seals, stem packing, or another model-specific seal. Find the parts diagram before deciding what to replace.
Why does my faucet still leak after a repair?
Check part compatibility, orientation, seal placement, and the condition of the housing or valve seat. The leak may also originate somewhere different from where you first noticed it.
Should I repair or replace the faucet?
Repair is often sensible when the body is sound and suitable parts are available. Replacement may be more practical if the body is cracked, badly corroded, or no longer serviceable.
Is a dripping faucet an emergency?
A contained spout drip usually allows time to arrange a repair. A spraying hose, expanding cabinet leak, or leak you cannot isolate needs prompt attention.
Related Posts