How to Fix Low Water Pressure in Your Home
A weak shower or a kitchen faucet that barely produces a stream can make everyday tasks frustrating. But before you replace a fixture or consider a pressure booster, find out how much of your home is affected.
If only one faucet runs slowly, the problem may be a clogged aerator or a restricted supply line. If every fixture has become weak, you need to look at the main supply, household plumbing, or water service.
This guide explains how to troubleshoot low water pressure, handle straightforward maintenance, and recognize problems that need a plumber.
Difficulty:
Moderate
Time:
30–60 min
Cost:
$0–$50
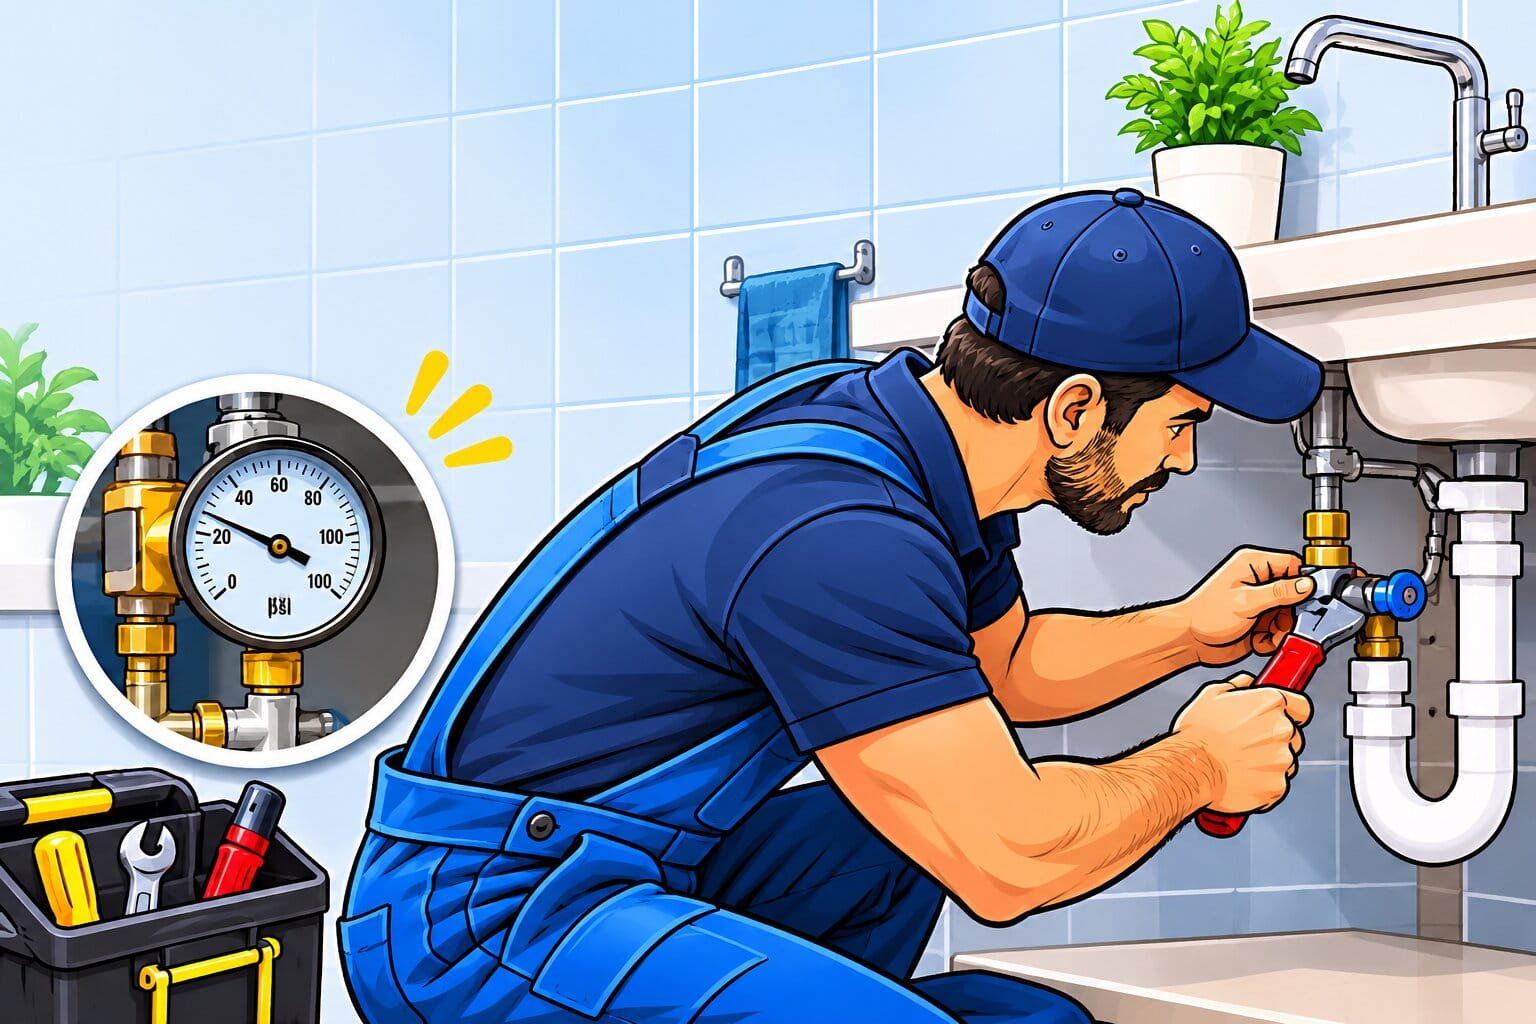
Start Here: Identify Where the Problem Is
Test several fixtures, one at a time. Compare the kitchen sink, bathroom sink, shower, and an outdoor tap if you have one. Check hot and cold water separately. Then notice whether the flow changes when another fixture or appliance starts using water.
- Only one faucet has weak flow: Investigate the aerator, local valve, supply hose, or faucet cartridge.
- Only the shower is weak: Investigate the showerhead, hose, inlet screen, or shower valve.
- Hot water is weak at several fixtures: Investigate the hot-water supply, heater connections, or mixing valve.
- Hot and cold water are weak throughout the home: Investigate the main valve, filter, regulator, leak, or incoming supply.
- Flow drops when several fixtures run: Investigate supply capacity or a restriction in the plumbing.
- Neighbors have the same problem: Investigate a water utility outage, maintenance, or network conditions.
Pressure and flow are different. Pressure is the force pushing water through the pipes. Flow is the amount of water coming out. A blocked faucet can deliver very little water even when the pressure feeding it is normal.

Tools and supplies
- Bucket or measuring jug
- Stopwatch or phone timer
- Old towels
- Flashlight
- Adjustable wrench or padded pliers, where appropriate
- Water pressure gauge with a suitable connection
- Replacement filter cartridge, if needed
- Food coloring or a toilet leak-detection tablet
- Compatible replacement flapper, seal, or fill valve, if needed
Start with inspections and cleaning. You do not need to dismantle the plumbing to check whether the problem affects one fixture or the whole house.
If you rent, report a persistent problem to the landlord or property manager before replacing plumbing components.
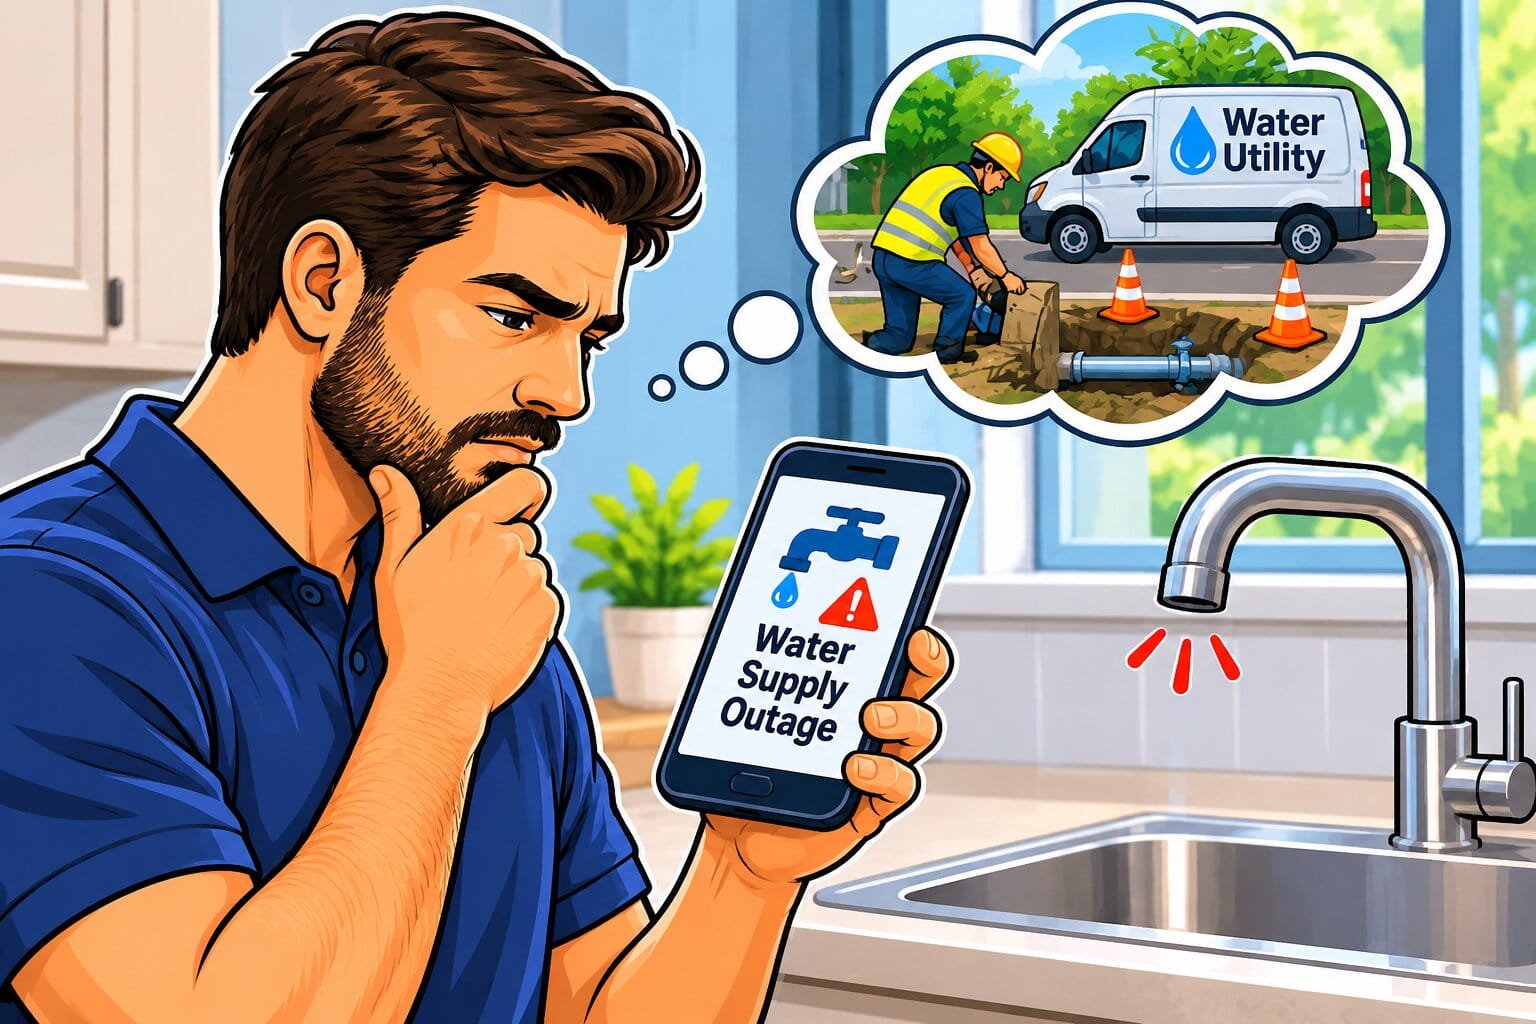
1. Check for a Water Supply Outage
If water pressure suddenly drops throughout the home, check your water provider’s outage or maintenance notices first.
Ask a nearby neighbor whether their supply has changed too. In an apartment or condominium, contact building management.
Watermain repairs and nearby maintenance can affect several properties at once. Toronto’s water department recommends checking construction notices and neighboring homes when investigating a sudden loss of supply or pressure.
If the utility confirms a supply problem, follow its instructions. There is little benefit in taking apart your faucets while the incoming supply is affected.
Follow any boil-water or water-quality notice separately. Restored pressure does not automatically mean an advisory has ended.
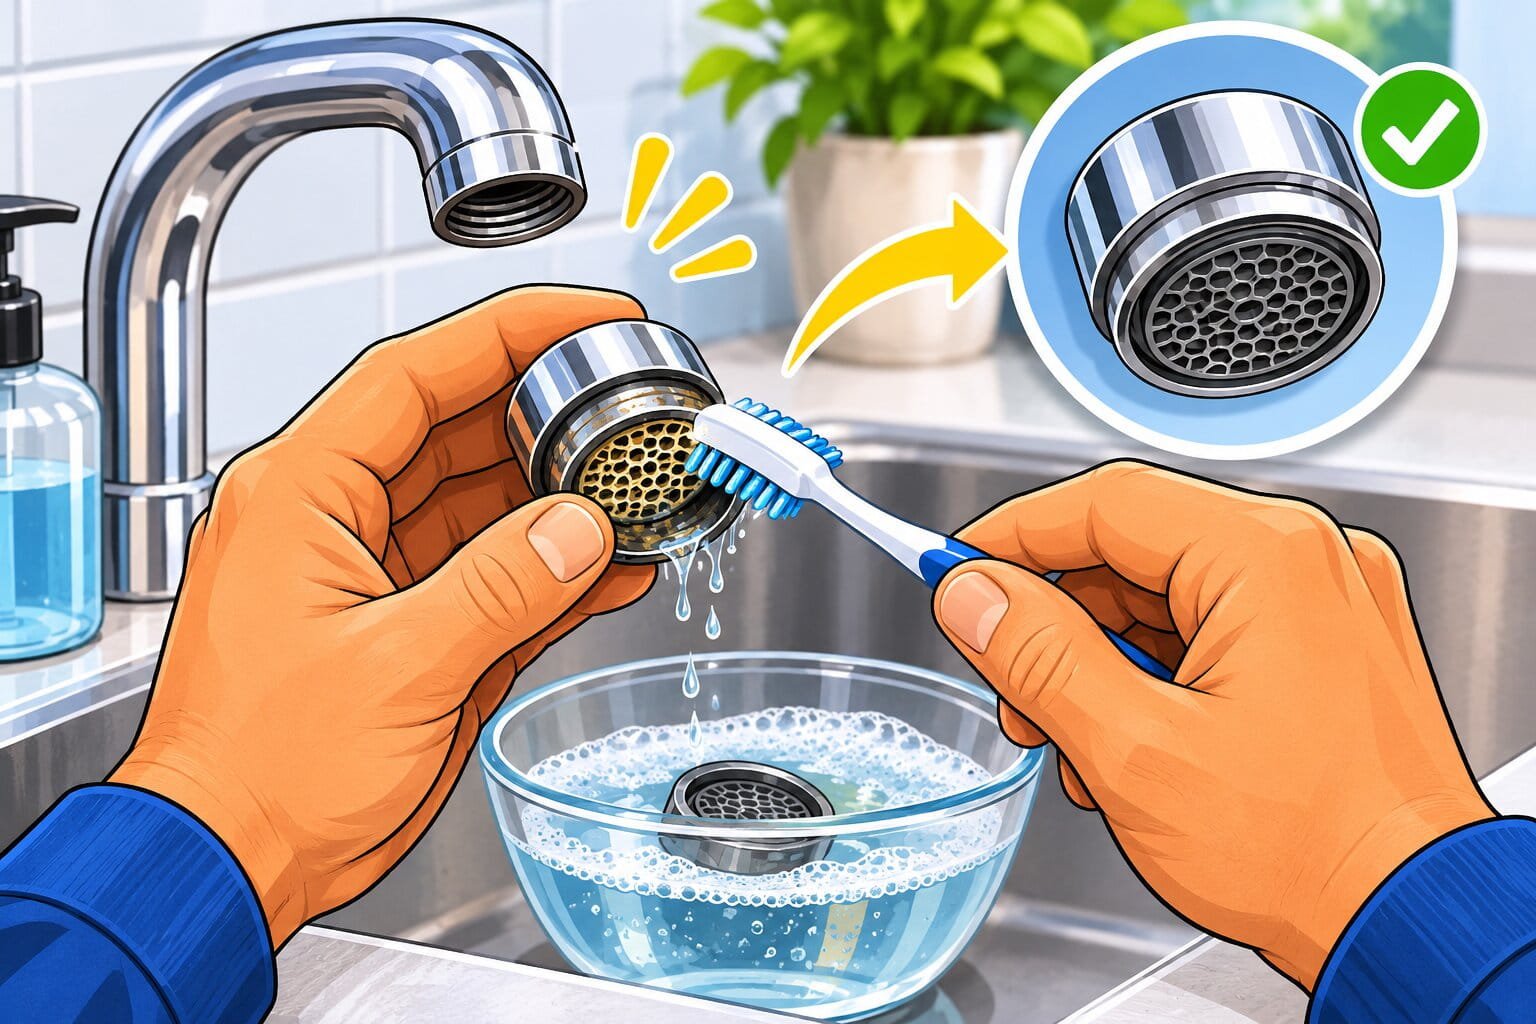
2. Clean the Faucet Aerator
If only one sink has weak flow, inspect the aerator first.
The aerator is the small fitting at the end of many faucet spouts. Its screens can collect grit and mineral deposits.
To clean a removable aerator:
- Close the drain or cover it so small parts cannot fall inside.
- Check the faucet instructions for the correct removal method.
- Remove the aerator carefully.
- Photograph the order of its screens, inserts, and washer.
- Rinse away loose debris.
- Clean deposits using a soft brush and an approved cleaner.
- Reassemble and test the faucet.
Some aerators unscrew by hand. Recessed versions may need a specific key, while other designs are not intended for routine removal. Moen’s maintenance guidance describes these different types and identifies accumulated debris as a cause of restricted flow.
If there is little improvement, continue with the local supply checks.
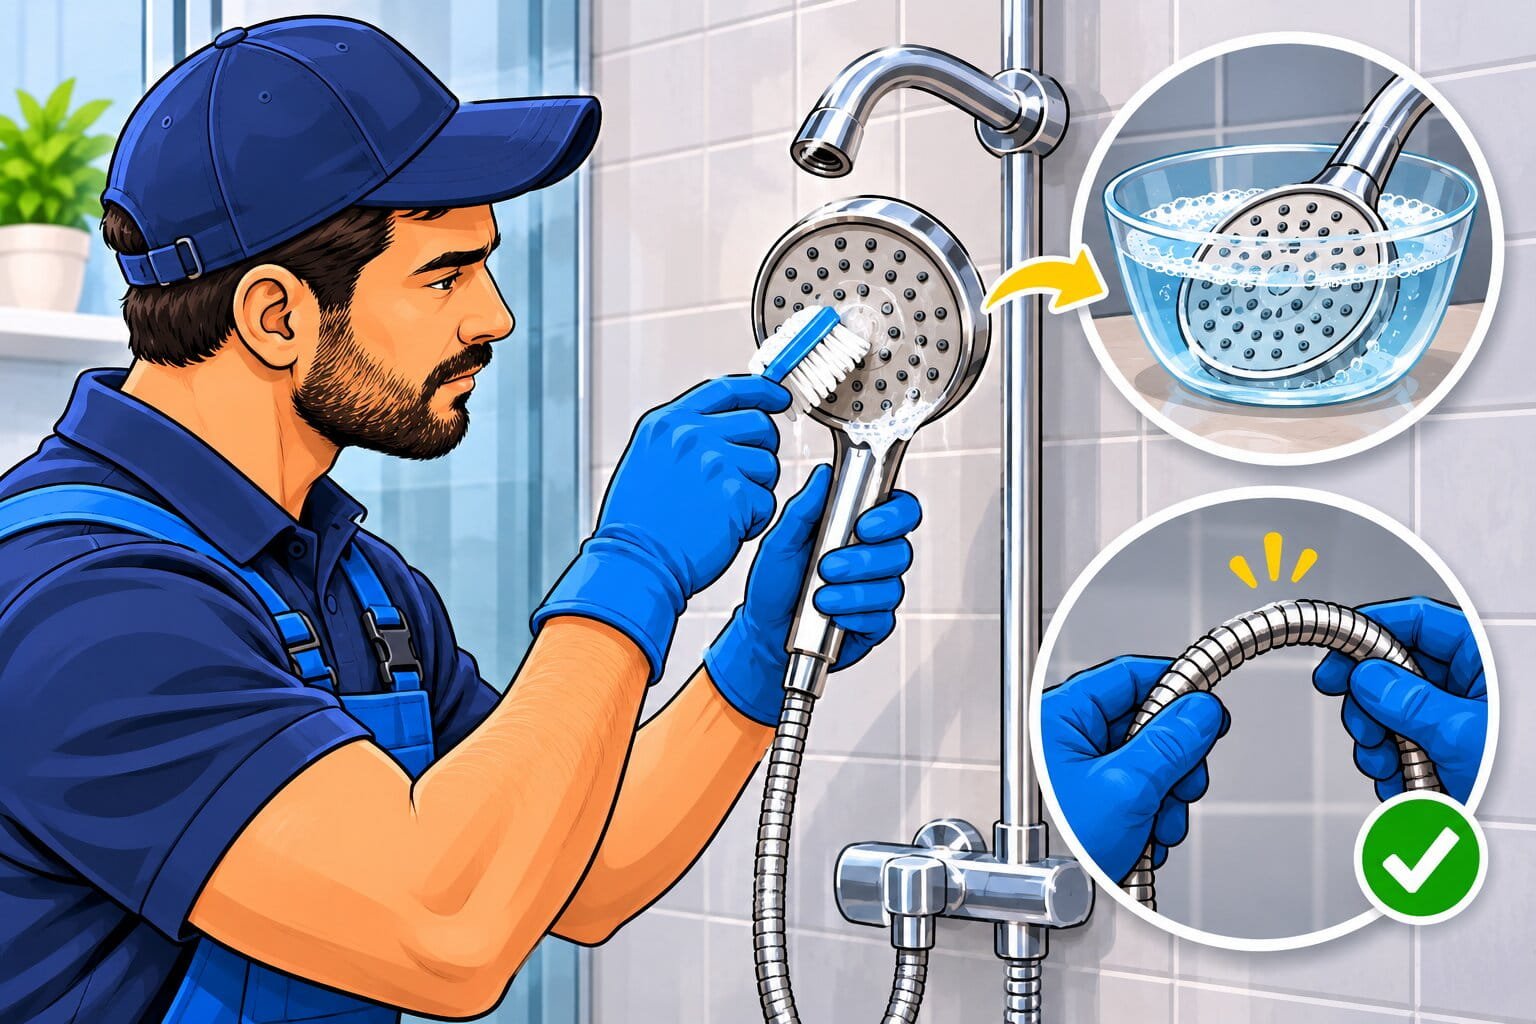
3. Clean the Showerhead and Check the Hose
When the sinks work normally but the shower feels weak, inspect the showerhead.
Look for blocked spray holes, uneven spraying, and mineral deposits. On a handheld shower, check that the hose is not kinked or crushed.
For cleaning:
- Follow the showerhead’s care instructions.
- Gently rub flexible nozzles if the manufacturer permits it.
- Remove and rinse accessible inlet screens as instructed.
- Use an approved descaling method for stubborn deposits.
- Refit any washers and test for leaks.
Delta recommends wiping deposits from its flexible Touch-Clean spray holes and a diluted vinegar solution for certain other showerheads. That guidance is product-specific: check compatibility before soaking a different model or finish.
Do not drill the openings or remove flow-control parts. Cleaning should restore the fixture’s intended performance.
If cleaning makes no difference, the restriction may be in the shower valve or its supply.
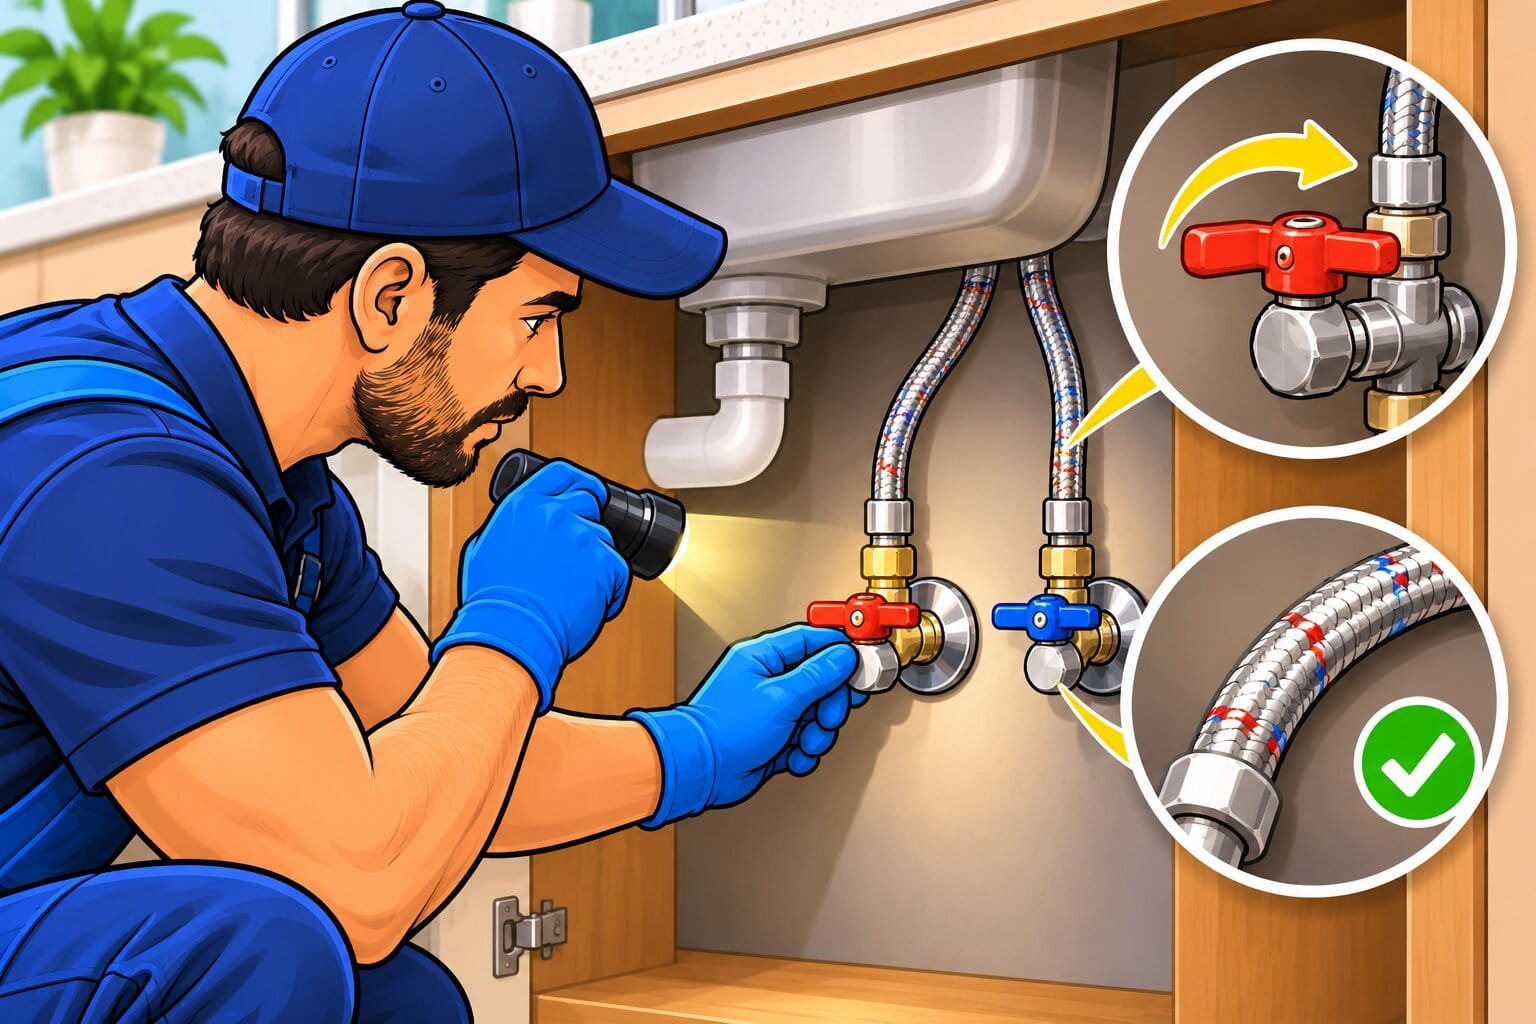
4. Check the Local Shut-Off Valves and Supply Hoses
For a weak sink faucet, inspect the valves underneath it.
A valve may have been left partly closed after a repair. A flexible hose may also have become kinked when something was moved inside the cabinet.
Check for:
- Partly closed supply valves
- Sharp bends in flexible hoses
- Hoses trapped behind stored items
- Visible corrosion or leakage
A quarter-turn valve is generally open when its handle lines up with the pipe. Multi-turn valves usually open counterclockwise, but follow the valve’s design and instructions.
Move accessible homeowner-operated valves gently. Do not force a seized valve or disturb a leaking one.
A damaged hose or faulty valve needs repair or replacement. Shut off the appropriate supply before disconnecting anything.
5. Check the Main Water Shut-Off Valve
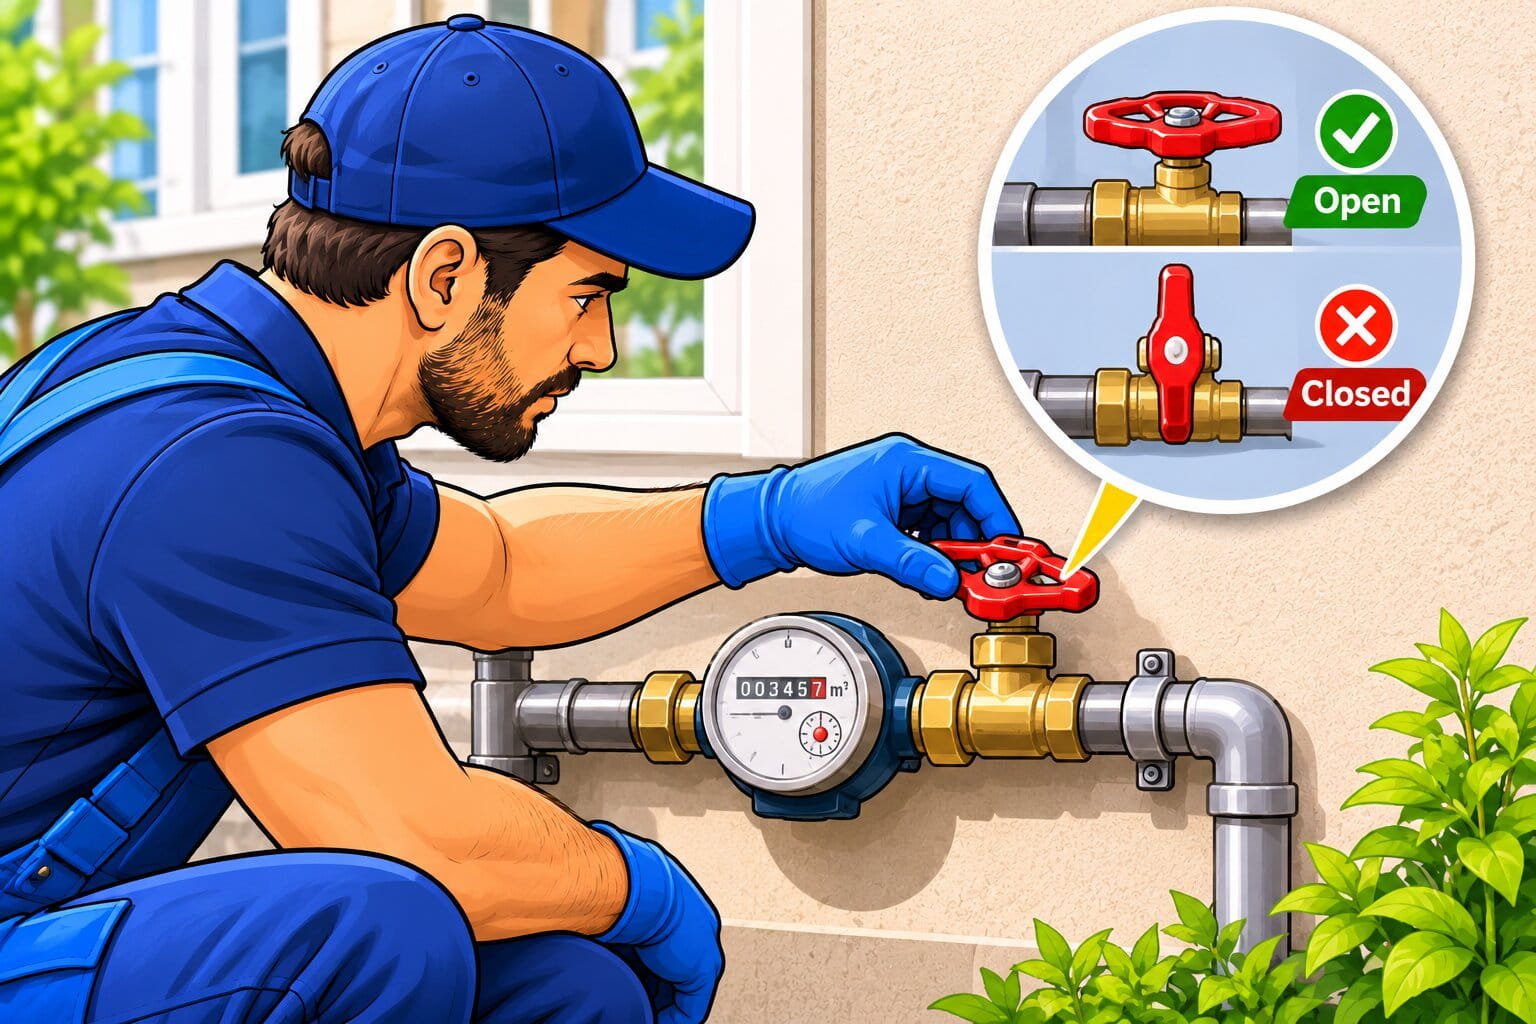
If several fixtures are affected, locate your home’s main shut-off valve.
It may be near the water meter, where the service pipe enters the building, or in a utility area. Its position varies by property and region.
Check whether it was left partly closed after recent work. Only operate a valve that you know is intended for homeowner use.
Do not operate utility-owned street valves, remove meter fittings, or interfere with sealed equipment.
If your valve is stiff, badly corroded, or leaking, have it assessed rather than forcing it open.
An apparently open handle also does not prove that an old valve is working correctly internally. If the basic checks do not resolve the problem, a plumber can test for a restriction.
6. Inspect Whole-House Filters and Treatment Equipment
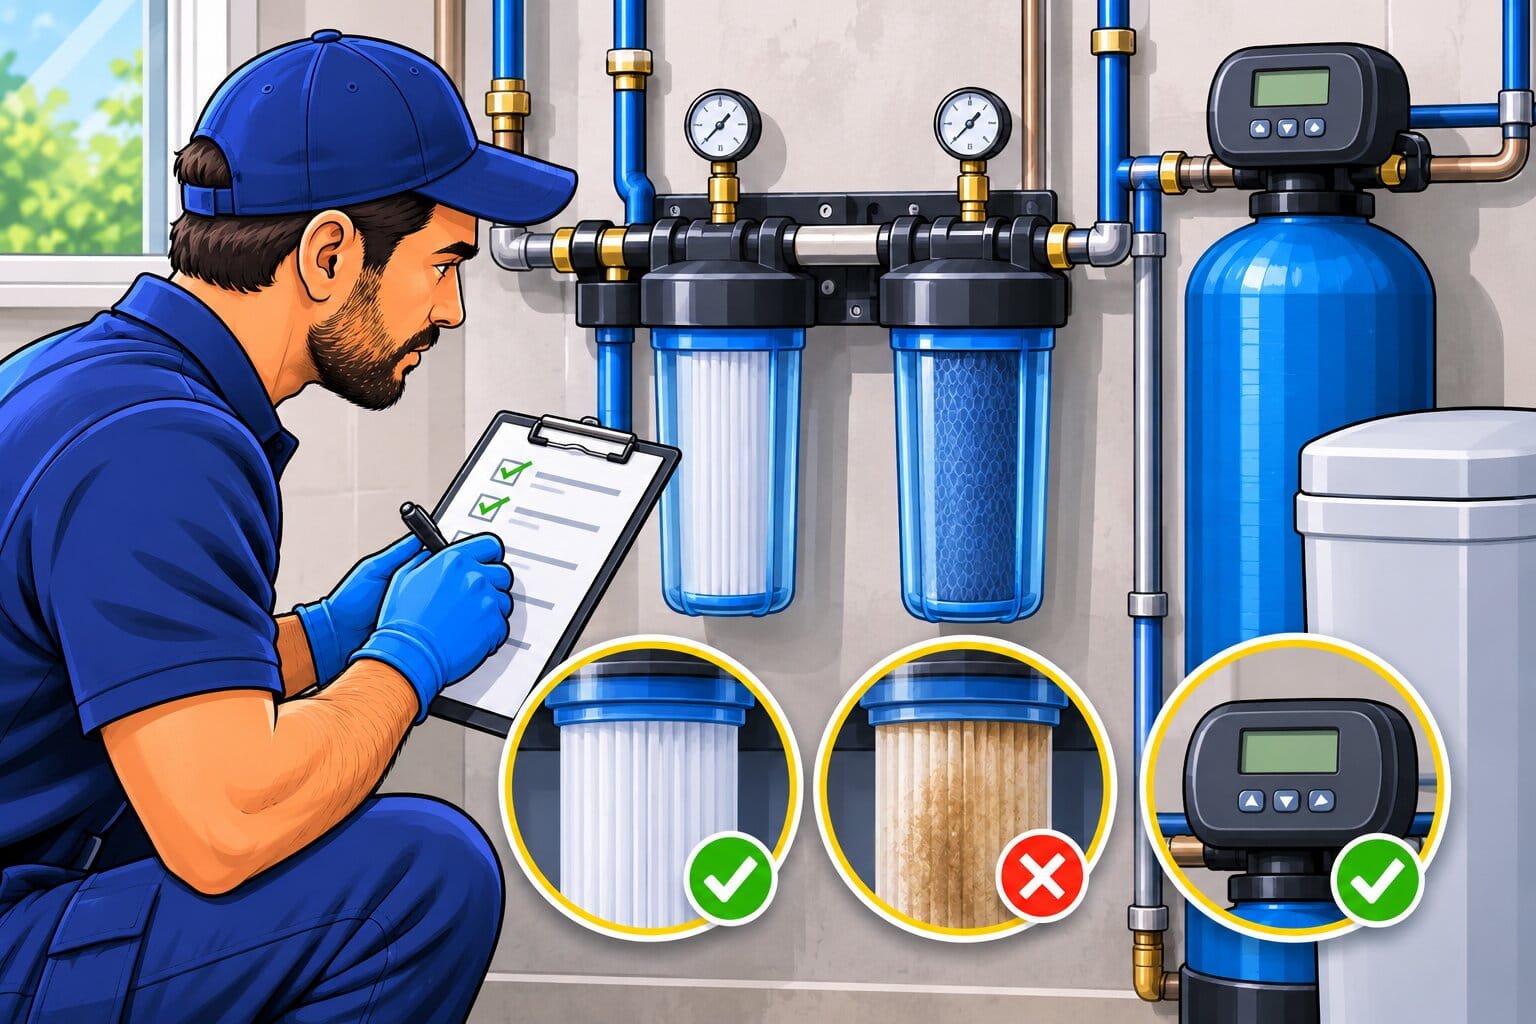
If your home has a sediment filter, water softener, or other treatment equipment, check its maintenance record and operating instructions.
A loaded filter or equipment fault can restrict the water reaching downstream fixtures.
For a cartridge filter:
- Identify the correct replacement cartridge.
- Follow the instructions to isolate the housing.
- Release pressure using the specified procedure.
- Replace the cartridge and inspect the seals.
- Restore the supply slowly.
- Check for leaks and compare the flow.
Never open a pressurized housing.
If the equipment has a manufacturer-approved bypass, it may help a technician isolate the restriction. Do not bypass treatment needed to make the water safe to drink unless the manufacturer or a qualified professional confirms an appropriate procedure.
Avoid changing unfamiliar valves simply to see what happens.
7. Check for a Water Leak
A significant leak can reduce the water available at your fixtures. It can also cause damage long before it becomes obvious.
Look for:
- Damp cabinets or walls
- Wet patches outside during dry weather
- Water sounds when fixtures are off
- Unexplained increases in consumption
- A toilet that keeps refilling
If you have an individual water meter, check for unexplained use:
- Turn off faucets and water-using appliances.
- Allow toilets to finish refilling.
- Make sure irrigation and automatic equipment are not drawing water.
- Record the meter reading or observe its flow indicator.
- Check again after a period with no intended water use.
Movement can indicate a leak or an overlooked automatic water user. Water Corporation recommends comparing meter readings while all water-consuming equipment is off.
A meter test does not locate the leak. If water continues moving and you cannot explain why, arrange an investigation.
For a visible leak under a sink, see our guide to fixing a leaking pipe under the sink.

8. Measure the Water Pressure
A gauge helps distinguish low incoming pressure from restricted flow.
Use a suitable cold-water connection, such as a compatible outdoor hose tap. Make sure you know whether that tap is supplied before or after any regulator or treatment equipment.
To take a static reading:
- Turn off water-using fixtures and appliances.
- Attach the gauge securely to the closed tap.
- Open the tap slowly.
- Wait for the reading to settle.
- Record it, then close the tap before removing the gauge.
The EPA recommends incoming household pressure of 45–60 psi, approximately 310–414 kPa, for efficient operation. This is guidance, rather than one universal required range for every home in the US, Canada, or Australia. Check your local requirements and equipment specifications.
A plumber can also compare pressure while water is flowing. A normal static reading followed by a substantial drop under demand can point toward a restriction or limited supply capacity.
A bucket-and-timer test measures flow, not pressure. It is useful for comparing a fixture before and after cleaning, but cannot replace a gauge test.

9. Have the Pressure Regulator Checked
Some homes have a pressure-reducing valve, also called a pressure regulator, near the incoming supply.
Its purpose is to lower excessive incoming pressure. It cannot create pressure that the supply does not provide.
If earlier checks have not explained whole-house low pressure, have the regulator assessed alongside the incoming supply.
Do not turn its adjustment screw blindly. Adjustment should be based on measured pressure, the manufacturer’s procedure, local requirements, and the ratings of connected equipment.
Replacing or installing a regulator should be handled by a qualified plumber where required.

10. Investigate Hot-Water or Older-Pipe Problems
If cold water is normal but hot water is weak at several fixtures, concentrate on the hot-water system.
Possible restrictions include heater connections, mixing valves, or other components in that supply path. Arrange servicing rather than dismantling a heater or adjusting gas, electrical, or safety controls.
If both hot and cold flow have weakened gradually, older pipework may need assessment. Internal corrosion or deposits can restrict some pipes, but weak flow alone does not prove that the home needs repiping.
Private wells need a different investigation involving the pump, controls, pressure tank, and available water supply. Leave electrical work and pressure-system adjustments to an appropriate technician.
In freezing weather, a sudden loss of flow may also involve frozen pipework. Do not use a flame to thaw a pipe.

Common Mistakes to Avoid
- Assuming a weak stream means low supply pressure: A fixture blockage may be the cause.
- Replacing several parts at once: Test each change so you know what helped.
- Forcing old valves: They can seize or begin leaking.
- Opening a pressurized filter: Isolate and depressurize it first.
- Removing flow-control components: Restore the fixture’s intended operation.
- Buying a booster pump before diagnosis: A pump will not repair a blockage, leak, or failing valve.
How to Prevent Recurring Problems
- Clean serviceable aerators and showerheads when their spray patterns begin to change.
- Replace filter cartridges according to the equipment’s instructions and your water conditions. Keep stored items clear of supply hoses and inspect accessible plumbing for moisture.
- After plumbing work, check that valves have been returned to their intended positions. Deal with unexplained changes promptly rather than waiting for the flow to become unusable.
Frequently asked questions
Why is my water pressure suddenly low?
Check for utility work first, then look for recently moved valves, leaks, and equipment faults. During cold weather, consider frozen pipes as well.
Why is only one faucet weak?
A blocked aerator, restricted hose, local valve, or internal faucet component may be responsible. Start with the accessible aerator and supply checks.
Does vinegar fix low water pressure?
An approved vinegar-based cleaning method can remove deposits from certain fixtures. It will not correct low incoming pressure or repair a plumbing fault.
Why does the shower weaken when another tap runs?
The fixtures share the available supply. A substantial drop can indicate a restriction or insufficient supply capacity and may need testing.
Can a different showerhead help?
A clean, compatible showerhead may perform better than a blocked one. It cannot increase the pressure entering your home.
Should I install a water pressure booster?
Only after the cause has been confirmed. Installation needs to suit the supply arrangement, local rules, and backflow requirements. Ask your utility and a qualified plumber before purchasing one.
Related Posts