How to Unclog a Kitchen Sink: 7 DIY Methods That Work
A kitchen sink rarely blocks at a convenient time. You finish washing dishes, pull out the stopper, and the water barely moves—or starts rising in the other bowl.
Food scraps, grease, and debris trapped in the drain are common causes. Many minor blockages can be cleared with basic tools, but the right method depends on where the clog is located.
Start with the simplest checks below. You do not need to try all seven methods if the sink begins draining normally.
Difficulty:
Easy to Moderate
Time:
15–45 min
Cost:
$0–$25

Before You Start: Identify the Problem
Check whether the blockage affects one sink bowl, both bowls, or other fixtures around your home.
- Water drains slowly from one bowl: A partial blockage near that drain.
- Water rises in the other bowl: A restriction in the shared drainage path.
- Disposal hums but does not grind: A jammed disposal mechanism.
- Disposal runs but water stays in the sink: A blockage in its outlet or downstream pipe.
- Several fixtures back up: A deeper drainage problem.
- Water leaks inside the cabinet: Damaged plumbing or a leaking connection
Stop running the dishwasher while the kitchen sink is blocked. Its discharge may enter the same drainage system and cause water to back up.
If you have already added chemical drain cleaner, stop before plunging, snaking, or opening the pipes. Trapped cleaner can splash onto you. Follow the product’s instructions and tell a plumber what you used. Drano specifically warns against plunging during or after using its Max Gel product when cleaner may remain in the drain.
If your sink has a garbage disposal, disconnect its power before inspecting it or working on connected drainpipes. Never put your hand inside the grinding chamber.

Tools and supplies
- Rubber gloves and eye protection
- Bucket or large bowl
- Old towels
- Cup for removing standing water
- Flashlight
- Dishwashing liquid
- Flat-bottomed sink plunger
- Tongs
- Soft bottle brush
- Adjustable or slip-joint pliers
- Hand-operated drain snake
- Replacement slip-joint washers, if needed
For Australian readers, rules governing drain repairs and disassembly vary. Check local requirements before opening pipework, and use a licensed plumber where required.
1. Remove Visible Debris From the Drain Opening
Best for: Food scraps or objects caught at the strainer.
Start by removing standing water with a cup and bucket. Leave the sink mostly empty so you can see the drain opening.
- Lift out the removable basket strainer or stopper.
- Empty trapped food into the trash.
- Use a flashlight to inspect the opening.
- Remove accessible debris with tongs.
- Wash the removable strainer separately.
- Add a small amount of water to test drainage.
Only remove components designed for routine cleaning. Do not loosen the fixed sink basket or drain flange just to reach a blockage.
Avoid pushing scraps farther down with a screwdriver or other sharp tool. Removing the material is more useful than moving it out of sight.

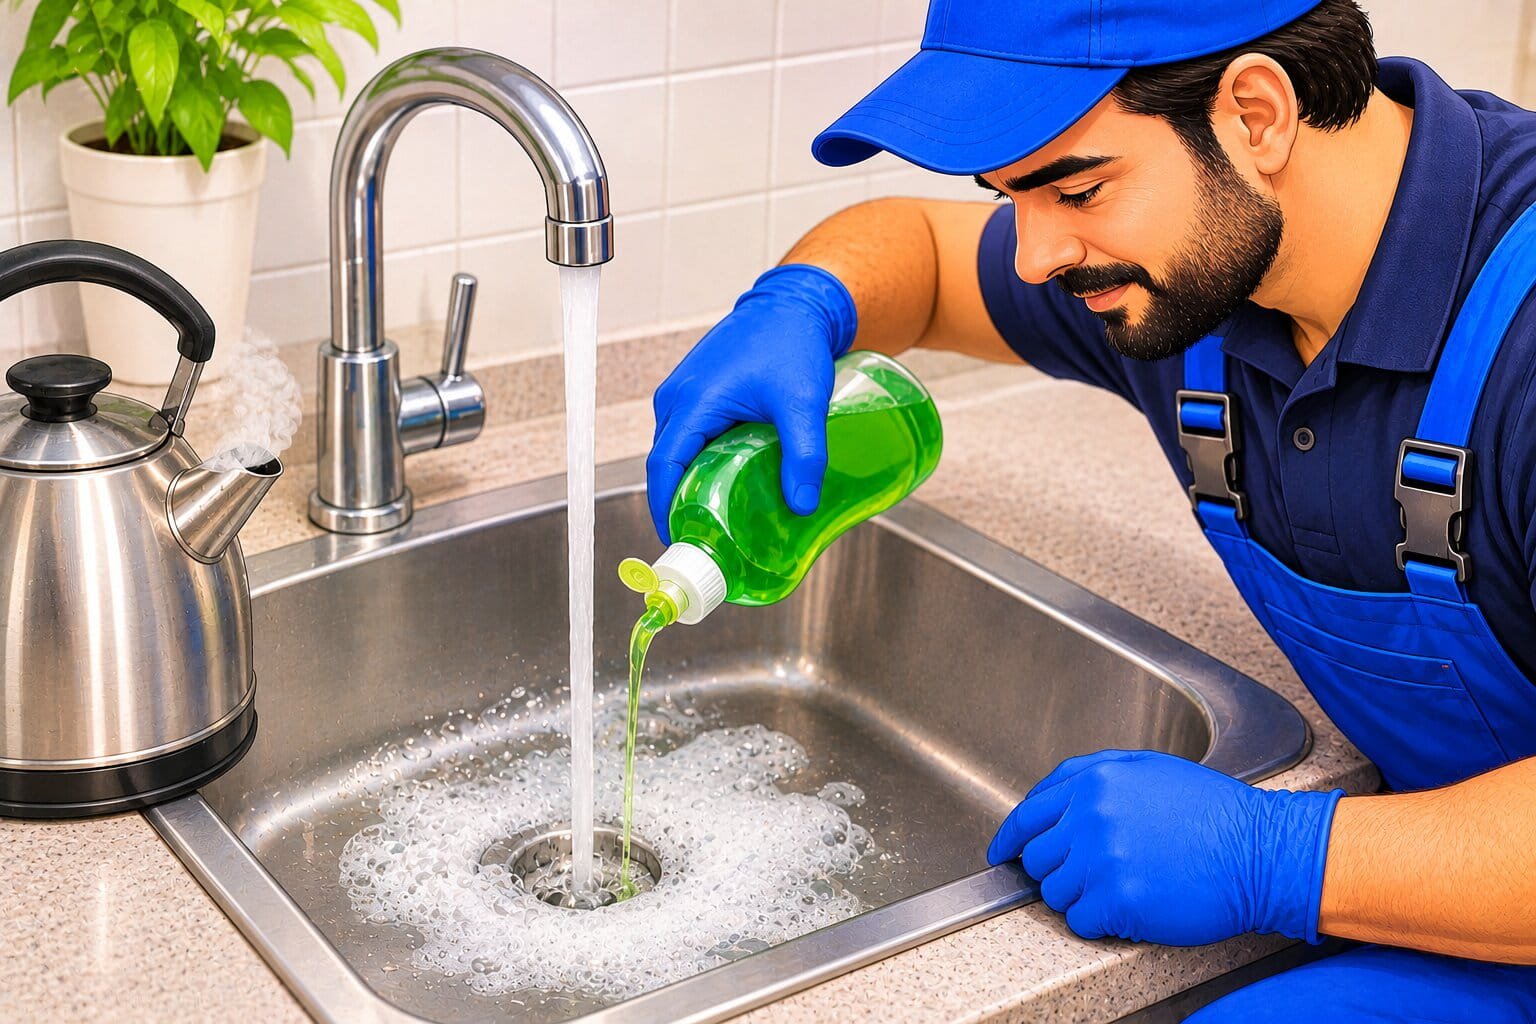
2. Try Hot Tap Water and Dish Soap
Best for: Light greasy residue in a sink that still drains slowly.
This is a first attempt for a partial restriction, not a reliable treatment for a solid grease blockage.
- Remove most of the standing water.
- Add a small squirt of dishwashing liquid.
- Slowly pour in hot tap water in manageable amounts.
- Pause between pours and watch the drainage.
- Stop if water continues accumulating.
Use hot tap water rather than a kettle of boiling water when you do not know the temperature limits or condition of the sink, pipes, and seals.
Detergent and warm water may help loosen light residue. They will not remove a utensil, a dense food blockage, or heavy buildup farther along the pipe.
Do not treat hot water as a way to dispose of cooking grease. Grease needs to be kept out of the drain.
3. Use a Sink Plunger
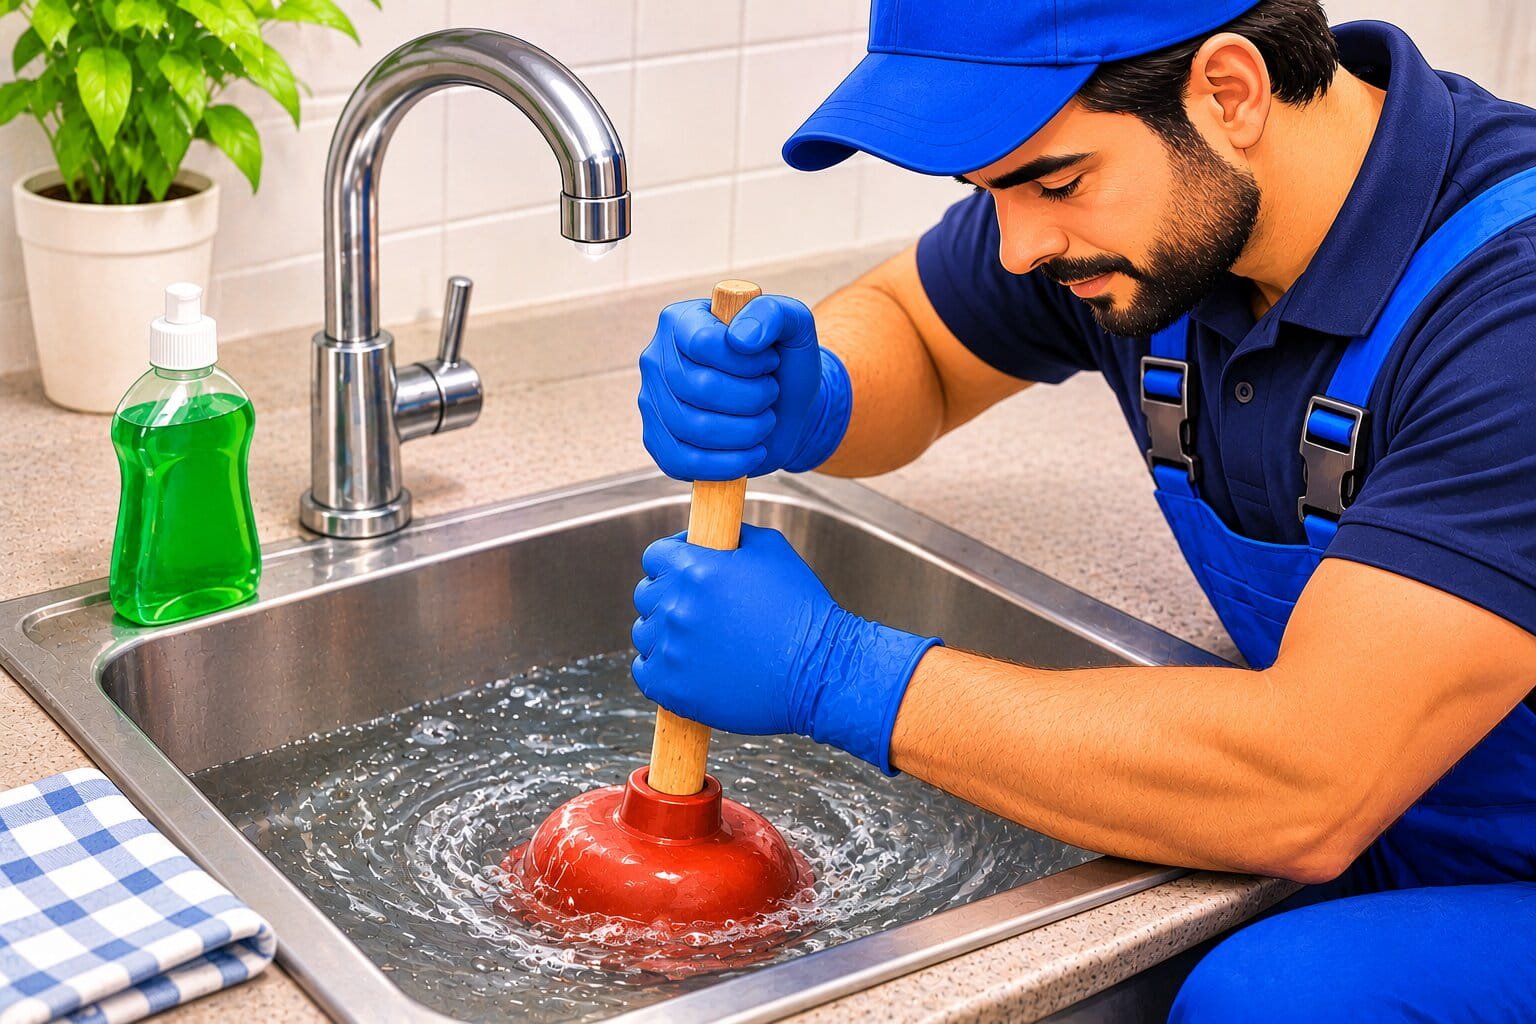
Best for: Small blockages in the trap or nearby drainpipe.
Use a dedicated kitchen plunger with a flat rubber cup.
- Check that the visible drain connections are secure and not leaking.
- Add enough water to cover the plunger cup.
- Seal the other drain on a double-bowl sink with a stopper or firmly held wet cloth.
- Cover an accessible sink overflow, if fitted.
- Position the cup over the blocked drain.
- Press gently first to release trapped air.
- Make several controlled push-and-pull strokes without breaking the seal.
- Lift the plunger and check whether the water drains.
Repeat briefly if the water begins moving. Stop if joints leak or the pipework moves.
Sealing the second bowl helps direct the plunging action toward the blockage. Kohler includes this step in its kitchen-drain guidance.
Do not use extreme force to compensate for a poor seal.
4. Clear a Jammed Garbage Disposal
Best for: A sink affected by a disposal that hums or will not turn.
Skip this method if your sink does not have a disposal.
A mechanical jam is different from a blocked drainpipe. Releasing the jam may restore grinding, but a downstream clog can still remain.
- Switch off the disposal and disconnect its power.
- Remove standing water from the sink.
- Inspect the chamber with a flashlight.
- Remove a visible loose object with tongs.
- Follow the model’s instructions for manually freeing the mechanism.
- Remove all tools before restoring power.
- Follow the specified reset procedure if the overload protector has tripped.
- Test with cold water running.
Some InSinkErator models have a service-wrench socket underneath; other models use a different procedure. Check yours before inserting a tool. InSinkErator also instructs users never to place a hand inside the disposal.
Do not keep switching on a humming, jammed unit. If it runs normally but the sink remains full, investigate the drainage path.

5. Remove and Clean the P-Trap
Best for: Food, grease, or small objects lodged in an accessible removable trap.
The P-trap is the curved pipe beneath the sink. It retains water to help block sewer gases, but it can also collect debris.
Only open a serviceable trap with removable connections. Do not cut glued pipework or force corroded fittings.
- Empty the sink and clear the cabinet.
- Disconnect disposal power, if applicable.
- Put a bucket and towels beneath the trap.
- Photograph the arrangement and washer positions.
- Support the trap while loosening its slip nuts.
- Lower it carefully and empty the trapped water.
- Remove debris into the trash.
- Clean the inside with a suitable brush.
- Inspect the trap and washers for damage.
- Refit the parts without forcing them out of alignment.
Tighten according to the fitting’s instructions. Extra force can distort washers or damage plastic nuts.
Do not run the faucet while the trap is removed. Reassemble it before testing, and avoid leaving an open drainpipe unattended.

6. Clean an Accessible Tailpiece or Shared Waste Fitting
Best for: A blockage above a clear trap.
The tailpiece is the short pipe below the sink drain. Double sinks also have connecting waste fittings, and food can collect at their junctions.
With the trap removed, inspect the accessible pipe opening using a flashlight.
- Look for visible buildup above the trap connection.
- Use tongs or a soft brush to remove reachable debris.
- If necessary, remove only pipe sections designed for slip-joint disassembly.
- Keep track of each washer’s position and orientation.
- Clean the removed sections over a bucket.
- Reassemble them in their original alignment.
Avoid pushing material into the wall drain.
Do not disturb the sink’s fixed strainer assembly or disposal mount for this check. If the blockage cannot be reached through serviceable fittings, move to a suitable hand auger or call a plumber.
This check is particularly useful when the trap is clean but water still cannot pass freely from the sink into it.

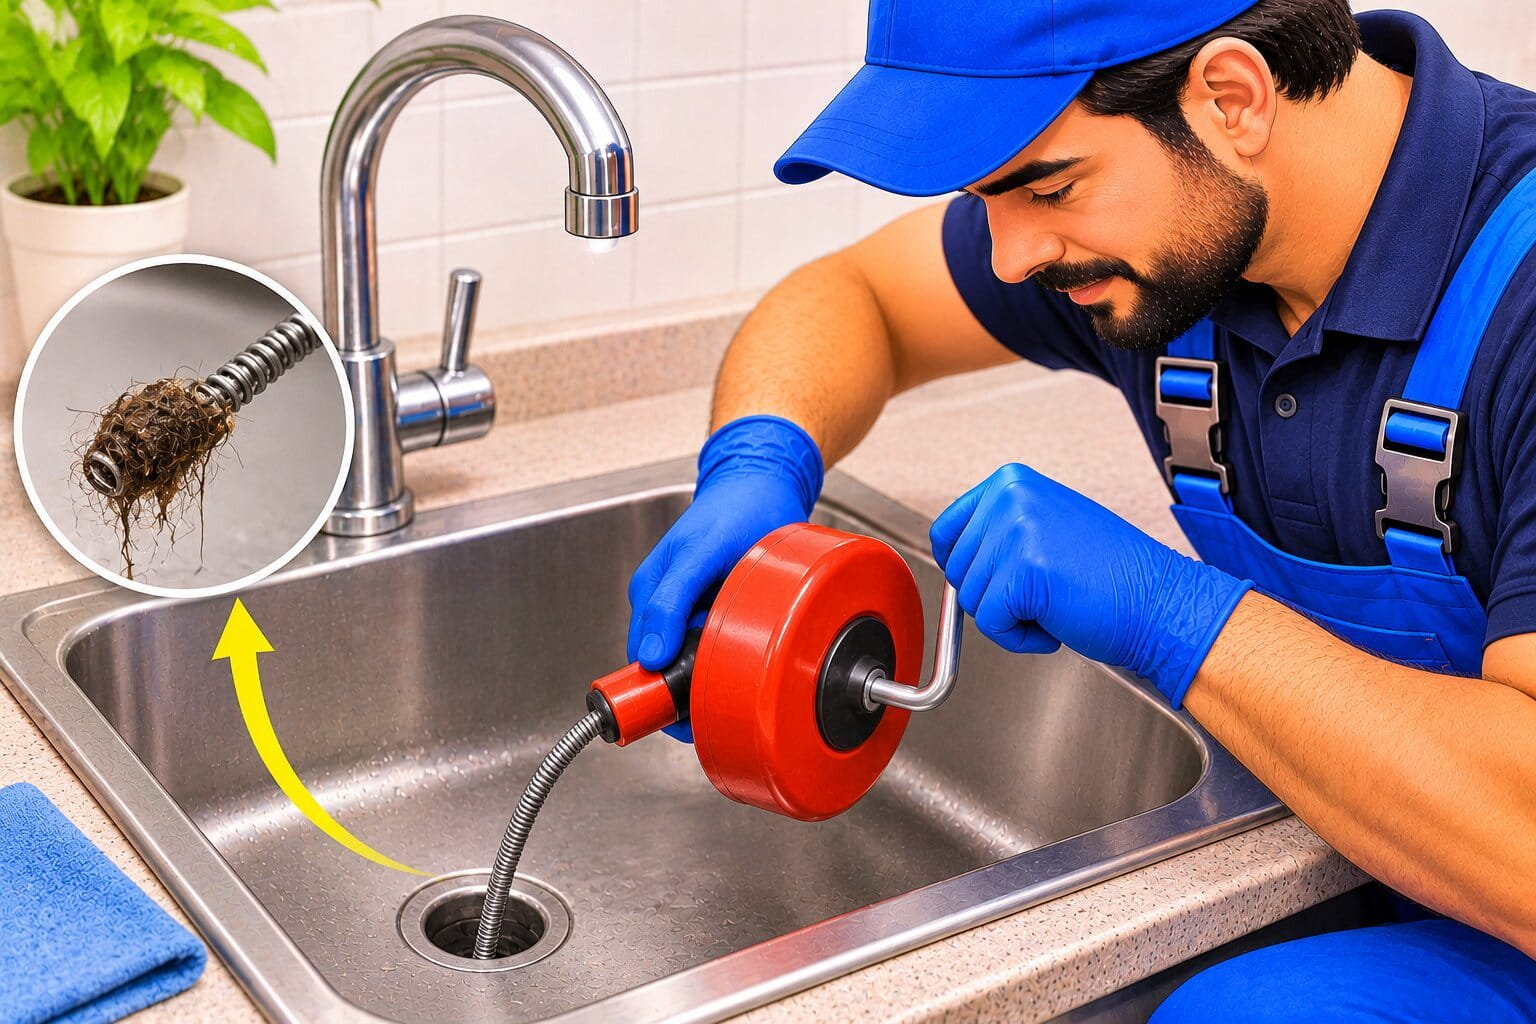
7. Use a Hand-Operated Drain Snake
Best for: A blockage beyond the trap.
Choose a hand-operated snake suitable for the pipe size. Read its instructions before use.
Where appropriate, access the drainpipe with the trap removed rather than forcing the cable through the sink fittings.
- Protect the cabinet and place a bucket underneath.
- Feed the cable gently into the drainpipe.
- Follow the tool’s instructions for locking and rotating the cable.
- Advance gradually when you encounter resistance.
- Withdraw periodically to remove collected debris.
- Stop if the cable binds, kinks, or will not advance with light pressure.
- Retract and clean the cable.
- Reassemble the drainage fittings.
Resistance may be a bend rather than a clog. Do not force the cable or attach a drill unless the tool is specifically designed for powered use.
Hand-operated drain tools are available specifically for sinks and similar small drains; a toilet auger is a different tool.
If the blockage remains beyond reach, professional clearing is the next step.
Test the Drain and Check for Leaks
Once everything is reassembled:
- Add a small amount of water.
- Check underneath for drips.
- Run the faucet and confirm steady drainage.
- Partly fill the sink and release the water.
- On a double sink, test both bowls.
- Dry the connections and check them again.
A gurgle followed by draining water is encouraging, but the sink should also handle a normal volume without backing up.
If a joint leaks, stop using the sink and correct its alignment or seal. See our guide to fixing a leaking pipe under the sink.
What About Baking Soda and Vinegar?
The fizz looks active, but it is not a dependable way to remove a dense kitchen clog.
The ingredients react with each other, and the bubbling in an open drain does not provide the controlled mechanical action of a plunger or snake.
For an actual blockage, removing accessible debris, cleaning serviceable pipework, or using an appropriate mechanical tool is more useful.
Never add vinegar, baking soda, bleach, or another product to a drain containing chemical cleaner.
How to Prevent Future Kitchen Sink Clogs
Keep food and grease out of the drainage system:
- Scrape plates into the trash or appropriate food-waste collection.
- Use a strainer and empty it regularly.
- Collect cooled cooking oil in a suitable container.
- Wipe greasy pans before washing.
- Keep coffee grounds, rice, flour, and fibrous scraps out of the drain.
- Follow your disposal manufacturer’s limits on food types and quantities.
Water Corporation identifies fats, oils, and food scraps as contributors to wastewater blockages. Hot water does not make grease disposal safe.
When using a disposal, follow its instructions for cold-water flow and continue rinsing for the specified period after grinding.
Frequently asked questions
What is the fastest way to unclog a kitchen sink?
Remove visible debris first. If the opening is clear and no chemical cleaner has been added, a sink plunger is a practical next step.
How do I unclog a kitchen sink with standing water?
Bail most of the water into a bucket, inspect the opening, and choose a method based on the symptoms. For plunging, leave enough water to cover the rubber cup.
Why does water rise in the other sink bowl?
Both bowls usually connect to a shared drainage path. A blockage after they join can cause water to move into the other bowl instead of draining away.
Should I pour boiling water down the sink?
Use hot tap water when the temperature limits of your plumbing and sink are unknown. Even hot water is unlikely to resolve a solid blockage by itself.
Why does my kitchen sink keep clogging?
Possible causes include recurring food or grease buildup, an incompletely cleared blockage, or a problem with the pipe layout or condition. Repeated clogs deserve investigation.
Can a garbage disposal clear a blocked pipe?
A disposal grinds suitable food waste in its chamber. It does not mechanically clear a blockage farther down the drain.
Is a blocked kitchen sink an emergency?
A contained blockage affecting only the sink may allow time for troubleshooting. Sewage overflow, several affected fixtures, or uncontrolled leakage needs prompt help.
Related Posts