How to Fix a Running Toilet: Step-by-Step DIY Guide
A toilet that keeps running after you flush is frustrating, especially when you can hear it refilling in the middle of the night. Sometimes the fix is as simple as freeing a stuck handle. Other times, a worn rubber seal or faulty valve needs attention.
Before buying replacement parts, take a look inside the tank. Finding where the water is going will help you avoid replacing something that still works.
This guide explains how to diagnose a running toilet, make common adjustments, and check whether the repair has worked.
This step-by-step guide explains how to unclog a shower drain, what methods to try first, and when a blockage may require professional help.
Difficulty:
Easy to Moderate
Time:
15–45 min
Cost:
$0–$25
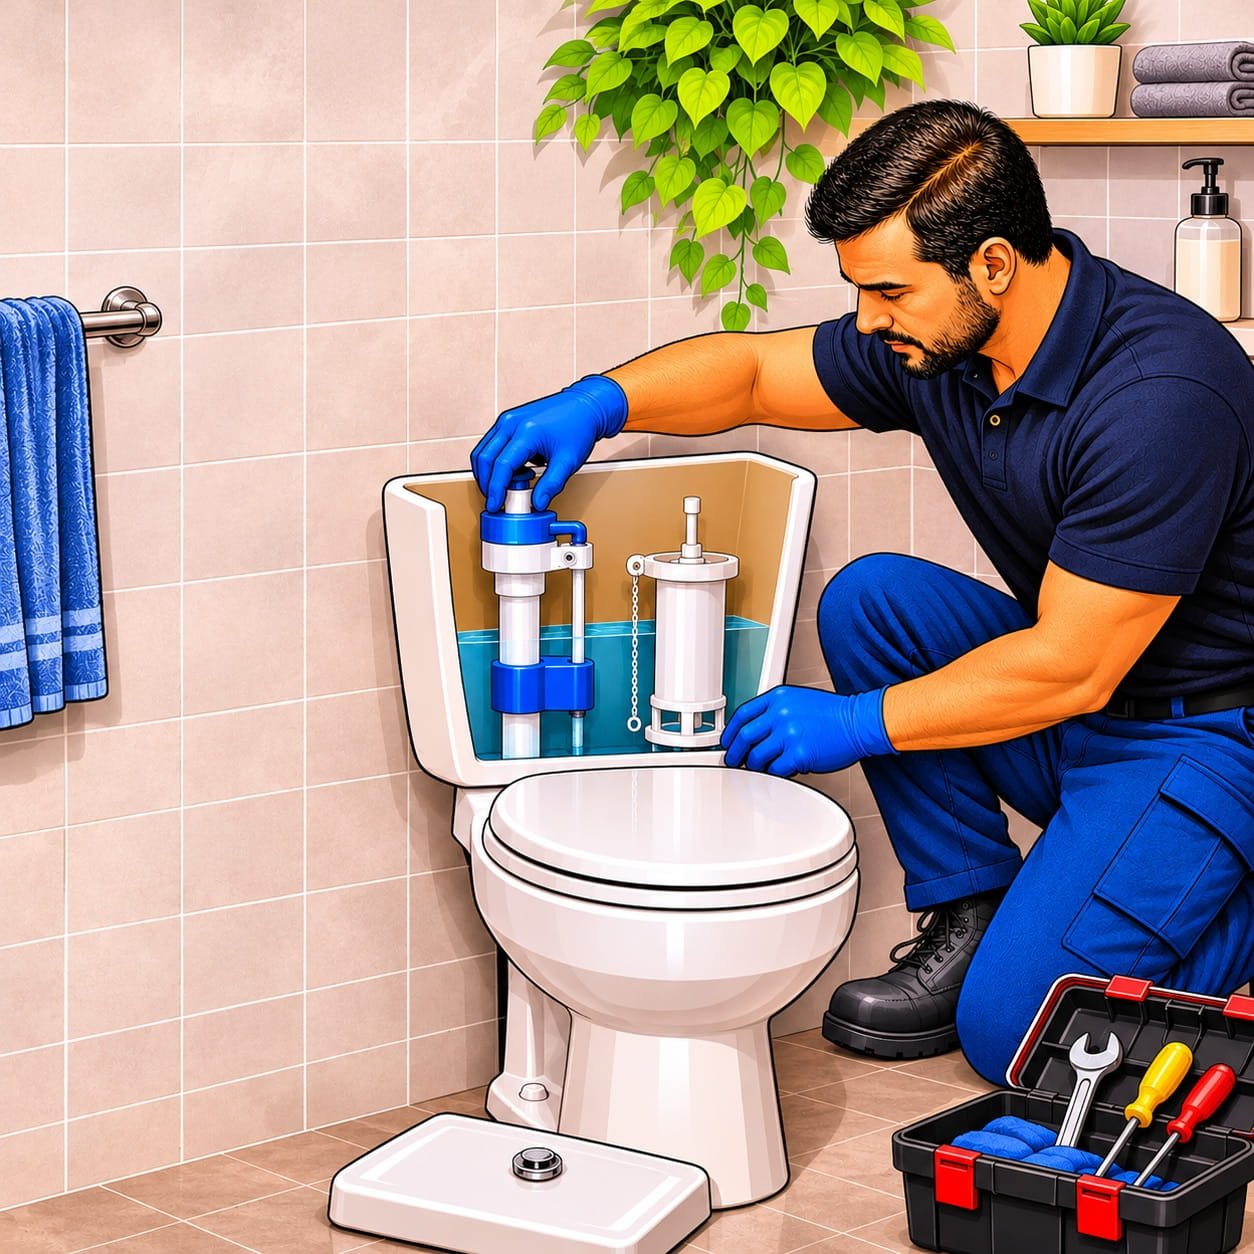
Start Here: Find Out Why Your Toilet Keeps Running
Carefully remove the toilet tank lid and place it on a towel somewhere secure. Ceramic lids are heavy and can break if dropped. Flush once and watch what happens as the tank refills.
- Tank water rises and spills into the overflow: Check float setting or fill valve.
- Running stops when you release or jiggle the handle: Check handle, lever, or chain.
- Water trickles into the bowl while the tank level stays below the overflow: Check flapper or flush valve seal.
- Toilet briefly refills when nobody has flushed: Check for a slow leak from the tank into the bowl.
A toilet that refills occasionally may be losing water slowly through its flush valve seal. This is often called “ghost flushing,” although the toilet is usually topping up its tank rather than completing a full flush.

Tools and supplies
- Old towels
- Small bucket
- Sponge
- Rubber gloves
- Flashlight
- Screwdriver
- Adjustable wrench, if replacing a fill valve
- Soft cloth or soft-bristled brush
- Food coloring or a toilet leak-detection tablet
- Compatible replacement flapper, seal, or fill valve, if needed
Take a photo of the tank’s internal parts before disconnecting anything. Look for the toilet’s model number inside the tank, under the lid, or in its paperwork.
A replacement part should match the toilet’s mechanism and specifications. Parts sold as “universal” still have compatibility limits.
For Australian readers: Check your state or territory’s plumbing rules before replacing components. Permitted homeowner work varies. Queensland, for example, allows certain toilet cistern washer repairs without a plumbing licence; that does not mean every valve replacement is unregulated.
1. Check the Flush Handle or Button
Start with the part you use every day.
Press the flush handle or button and release it. It should return freely instead of staying partly pressed.
For a handle-operated toilet:
- Check that the handle moves without catching.
- Look inside the tank to see whether the lever touches another component.
- Check whether the chain is tangled or trapped.
- Make sure the flapper settles fully after the handle is released.
For a dual-flush toilet, check that both buttons spring back. A sticking button or incorrectly adjusted actuator can prevent the outlet valve from closing.
If your cistern lid is connected to the flushing mechanism, follow the manufacturer’s removal instructions. Do not pull the lid upward against attached rods or cables.

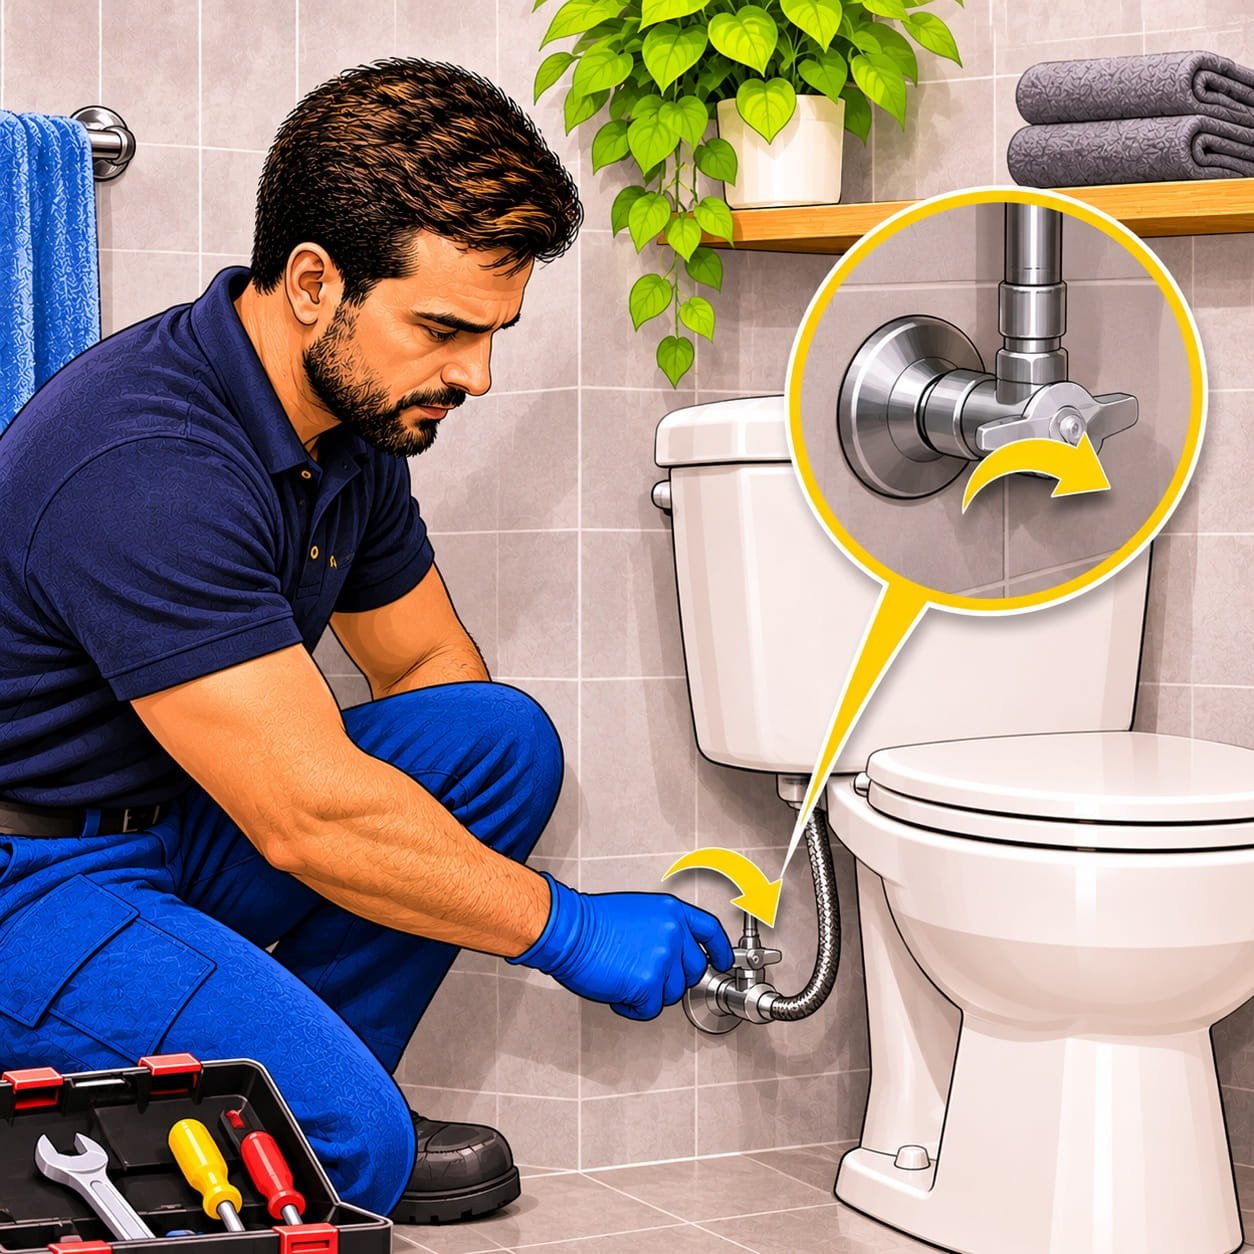
2. Turn Off the Toilet’s Water Supply
Before removing parts, shut off the water.
The toilet’s isolation valve is usually on the wall or floor near the toilet. It may be hidden behind a skirted toilet.
- Turn a multi-turn valve clockwise until it closes gently.
- Turn a quarter-turn valve through its normal closing movement, usually 90 degrees.
Do not force a seized valve. If it will not close or starts leaking, stop and arrange a repair. You need a reliable way to isolate the water before disconnecting the supply hose.
3. Adjust the Flapper Chain
Skip this step if your toilet uses a tower, canister, or dual-flush outlet valve without a chain-operated flapper.
The chain connects the flush lever to the rubber flapper at the bottom of the tank.
If the chain is too tight, it can hold the flapper slightly open. If it is too loose, it may catch underneath the flapper or fail to lift it properly.
To adjust it:
- Check that the flapper rests flat on its seat.
- Move the chain clip to leave a small amount of slack.
- Keep the loose chain clear of the sealing surface.
- Operate the handle and watch the flapper lift and close.
Use your toilet manufacturer’s recommended slack. Kohler specifies roughly one or two loose links for the mechanisms covered by its troubleshooting guidance.
Turn the water back on and test. If the toilet now fills and becomes quiet, you may not need a replacement part.

4. Check and Adjust the Tank Water Level
If tank water spills over the top of the overflow tube, check the float and fill valve.
The float tells the fill valve when to stop adding water. A setting that is too high can send excess water into the overflow and then into the bowl.
With the tank refilled:
- Find the marked waterline or check the model’s instructions.
- Make sure the float moves freely.
- Check that it does not rub against the tank wall or another part.
- Use the adjustment screw, clip, or control specified for that valve to lower the shut-off level.
- Flush again and check where the water stops.
Do not use one fixed water-level measurement for every toilet. Follow the marked fill line or manufacturer’s specification.
If gently raising the float to its normal shut-off position does not stop the incoming water, the fill valve may need cleaning or replacement. Do not force the float beyond its normal travel.

5. Clean or Replace the Flapper
If the water level is below the overflow but water still enters the bowl, inspect the flapper.
With the supply off and the tank drained:
- Disconnect the chain.
- Remove the flapper from its mounting points.
- Wipe the flapper and the surface it seals against with a soft cloth.
- Check for cracks, distortion, stiffness, or deterioration.
- Refit it if it is sound, or install a compatible replacement.
- Reconnect and adjust the chain.
Avoid abrasive tools that could scratch the valve seat. A damaged sealing surface can keep leaking even with a new flapper.

6. Inspect the Seal on a Dual-Flush or Canister Toilet
A toilet without a hinged flapper may use a central canister, tower, or drop valve. These mechanisms have a seal that closes the outlet after flushing.
For a leaking seal:
- Shut off the water and empty the cistern.
- Identify the valve model.
- Follow its instructions to remove the serviceable section.
- Inspect the rubber seal and its seating surface.
- Clean away loose debris.
- Replace a damaged seal with the specified part.
- Reassemble the mechanism and test both flush options
Some mechanisms release with a twist; others use clips or different fittings. Do not assume that every tower comes out the same way.

7. Check the Refill Tube
On toilets fitted with a small refill tube, check how it connects to the overflow.
The tube supplies water to the bowl after a flush. It should be secured using the arrangement specified by the manufacturer.
For conventional clip-mounted designs:
- Keep the tube attached securely.
- Direct its discharge into the overflow.
- Do not push its end deep down the overflow tube.
- Keep the outlet above the tank’s water level as instructed.
Incorrect positioning can allow siphoning and cause unwanted water loss. Fluidmaster specifically warns against putting the refill tube down the overflow below the water level.
Some toilets use a different refill arrangement. Keep the original design unless the manufacturer instructs otherwise.

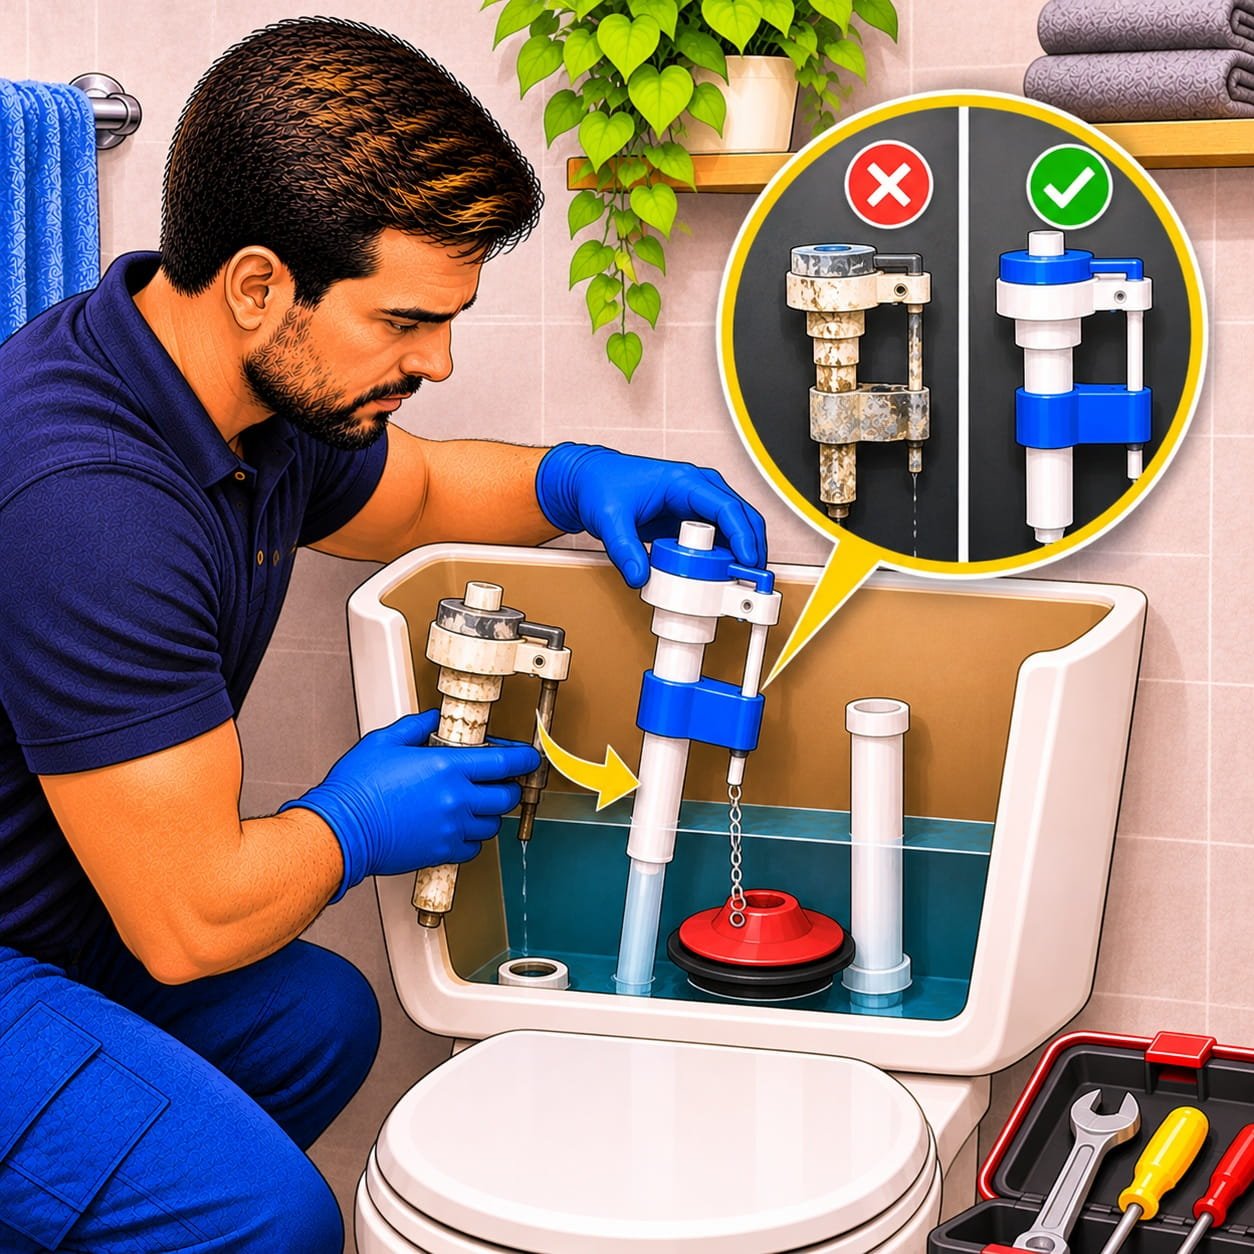
8. Service or Replace a Faulty Fill Valve
If the float is correctly adjusted but water continues entering the tank, check the fill valve’s service instructions.
Some valves can be cleaned or fitted with a replacement seal. Others are better replaced. Shut off the water before removing a cap, and use the manufacturer’s procedure for flushing debris from the valve.
If replacement is necessary and permitted locally:
- Turn off the supply and drain the tank.
- Put towels and a bucket beneath the inlet connection.
- Disconnect the supply hose.
- Remove the retaining nut and old valve.
- Install the compatible replacement and its supplied seals.
- Set the height and water level as instructed.
- Reconnect the supply without twisting or straining the hose.
- Restore the water slowly and check for leaks.
Follow the specified tightening instructions. Too much force can damage plastic threads, seals, or the ceramic tank.
Do not add PTFE tape to a gasket-sealed connection unless the product instructions require it.
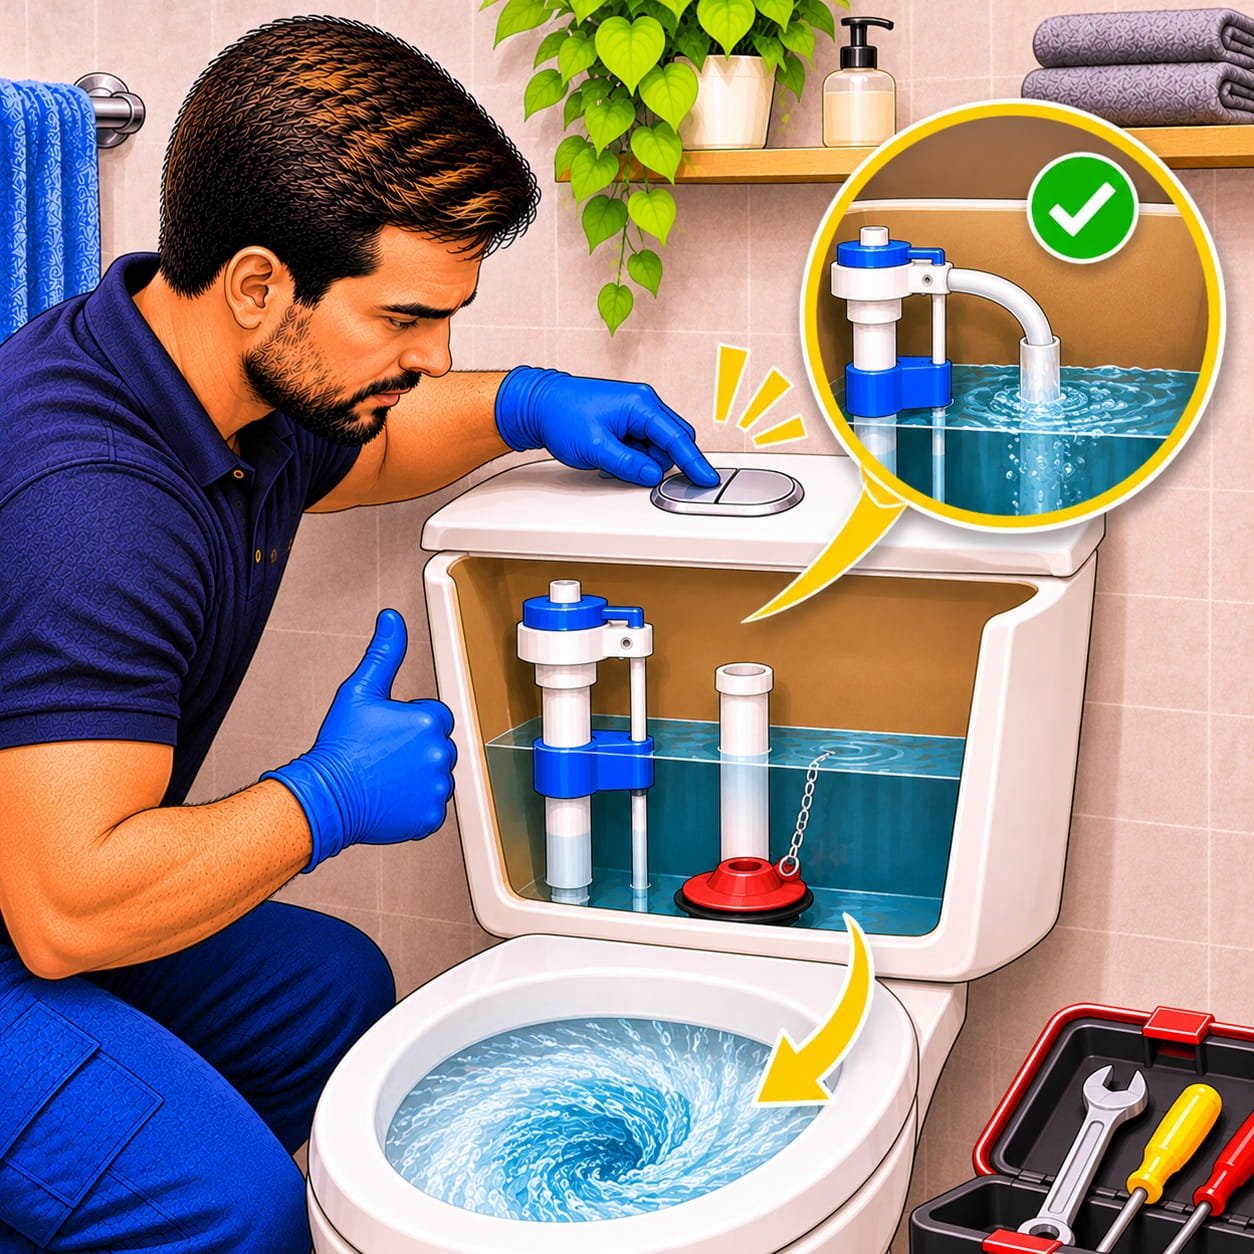
9. Test the Repair
Flush the toilet several times. For a dual-flush toilet, test both buttons.
Check that:
- The handle or buttons return normally.
- The outlet closes completely.
- The tank stops filling at the correct level.
- Tank water does not spill into the overflow.
- The bowl becomes still after refilling.
- The supply connection and floor remain dry.
- Let the tank finish filling.
- Add a few drops of food coloring or a leak-detection tablet to the tank.
- Wait 10 minutes without flushing.
- Look for color in the bowl.
Color appearing in the bowl indicates a leak. Flush afterward to clear the dye and reduce the chance of staining. This test is recommended by the US Environmental Protection Agency’s WaterSense program.
Common Mistakes to Avoid
- Replacing parts before checking the cause: A sticking handle or incorrect float setting may only need adjustment.
- Buying the wrong seal: Similar-looking parts can have different dimensions and fittings.
- Leaving the chain too tight: The flapper needs to close fully.
- Forcing plastic clips or valve bodies: Check the removal instructions first.
- Overtightening connections: Follow the part’s instructions rather than tightening as hard as possible.
- Skipping the final leak check: A quiet toilet can still lose water slowly.
Keep Your Toilet Working Properly: Prevention Tips
- Check inside the tank occasionally for sticking parts, deteriorating seals, and an unusually high water level.
- Pay attention when a toilet starts taking longer to fill or refills between uses. Catching the problem early makes diagnosis easier.
- Avoid drop-in tank cleaners containing bleach or chlorine where the component manufacturer prohibits them. Fluidmaster warns that these products can damage tank components. Use cleaning products according to both the cleaner’s label and the toilet manufacturer’s guidance.
Frequently asked questions
Why does my toilet keep running after flushing?
Check for a sticking handle, a chain holding the flapper open, an excessive water level, a leaking outlet seal, or a fill valve that does not shut off. Watching the tank refill helps narrow down the cause.
Why does my toilet run every few minutes?
The tank may be losing water into the bowl and refilling to replace it. Check the flapper or outlet seal, and inspect the refill tube if your toilet has one.
Can I fix a running toilet without replacing parts?
Yes, when the problem is a tangled chain, sticking control, incorrect water level, or removable debris. A cracked or deteriorated seal usually needs replacement.
Why is my toilet still running after replacing the flapper?
Check the replacement’s compatibility, chain slack, valve seat, water level, and refill tube position. The original problem may have been elsewhere.
Should I turn off the water to a running toilet?
You can isolate the toilet temporarily to stop further refilling while arranging a repair. This does not fix the fault, and the tank will not refill for normal use until the supply is restored.
Does a running toilet mean I need a new toilet?
Usually, the faulty component can be repaired or replaced. A cracked tank, damaged valve seat, unavailable parts, or repeated failures may make a larger repair or replacement worth discussing with a plumber.
Related Posts